CLICK HERE TO DOWNLOAD THE PATTERN AND PDF INSTRUCTIONS
When I first saw the initial posters for Raya and the Last Dragon a year ago, I, no lie, exclaimed “That’s me!” as I’m sure every other Asian 5 year old did. Even though I’m Chinese and Raya is inspired by Southeast Asian cultures, I felt like she represented me more than Mulan did (credit to better character design overall, and no shade to Mulan, she’s still my favorite). Also right off the bat, you could tell she was a total badass and I loved her before I even knew her.
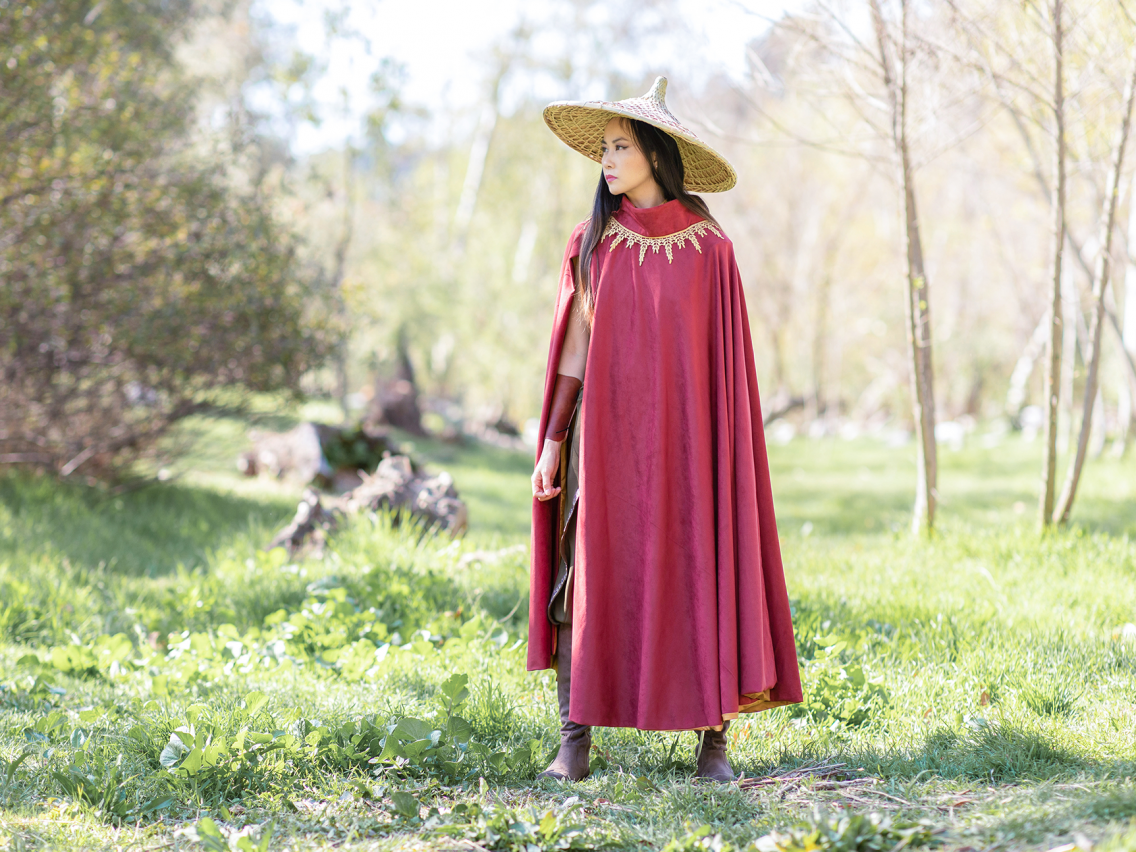
I don’t cosplay very often, but I absolutely fell in love with Raya’s outfit, so I decided I would make the whole thing. I made every piece besides the hat, boots and sword. It took me about a week of nonstop sleepless nights to complete the full look for the premiere.
Now that the movie has been out for about three weeks, I’ve decided to share the cloak pattern with the world! This is a three-parter, so make sure to check out the other posts too!
Part 2: Cutting the Fabric
Part 3: Sewing the Cloak
CLICK HERE TO DOWNLOAD THE PATTERN AND PDF INSTRUCTIONS
Description
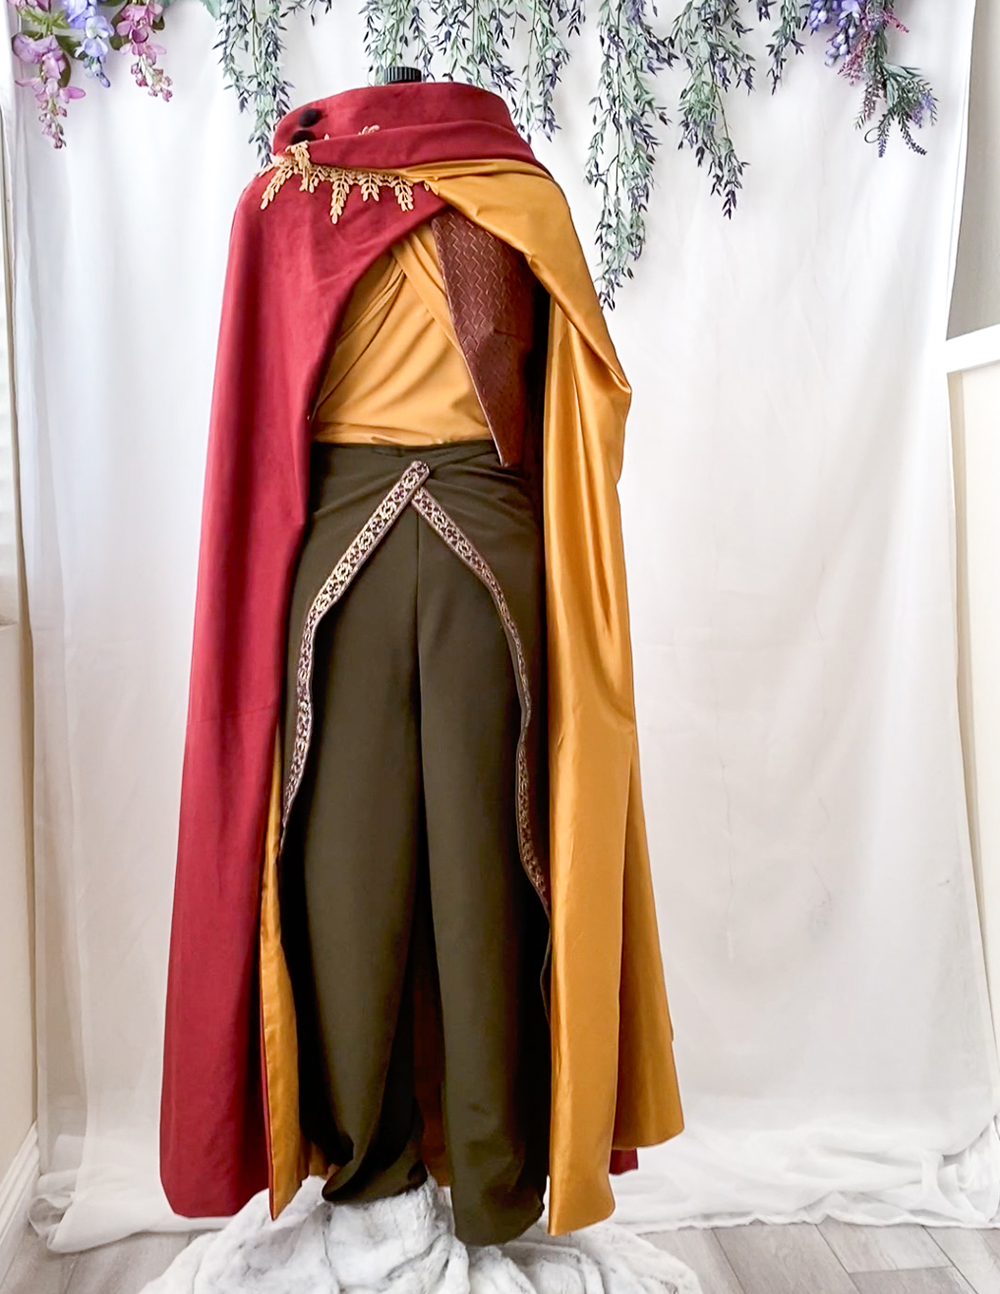
This pattern is for a cross-front, high collar, wide neck, circle cloak (as seen on Raya from Raya and the Last Dragon). The left crosses over the right and the opening sits on the right side of the body. Pattern includes instructions for 3 different size cloaks.
Packet includes: 3 pattern pieces, cutting and sewing instructions.
Sewing level: Beginner to intermediate. You should have at least a basic understanding of sewing terms and concepts as the illustrations are limited and I do not go into excessive detail with the instructions.
Recommended fabrics: Faux suede, suede cloth, linen, light wool. Lining, brocade. Interfacing, felt. (Amounts on Part 2: Cutting the Fabric)
Notions: Thread, 3 large buttons, trim (optional)
Finished garment: 45” in length, 28” neckhole
Seam allowance used: 1/2”
Part 1: Assembling the Cloak Pattern Pieces
- Download the pattern pdf here.
- Print pages 2-7 at 100% (on 8.5×11 paper) with minimum or no margins.
- Tape the edges of each paper together flush with no overlap, matching tabs
- A1 to A2, A3 to A4 (Cloak Right)
- B1 to B2, B3 to B4 (Cloak Left)
- C1 to C2, C3 to C4 (Collar)
- Cut out the pattern pieces on the solid black lines only. (If your printer did not print all the way to the edge, do your best to connect the lines from one page to the other.)
- You should end up with 3 pieces:
- CLOAK RIGHT EXTENSION
- CLOAK LEFT EXTENSION
- CLOAK COLLAR
Important: CLOAK RIGHT and CLOAK LEFT are NOT complete pattern pieces. These are extensions to the circle cloak parts. Please go to Part 2: Cutting the Fabric for instructions on how to use these pattern pieces.










What do you think?