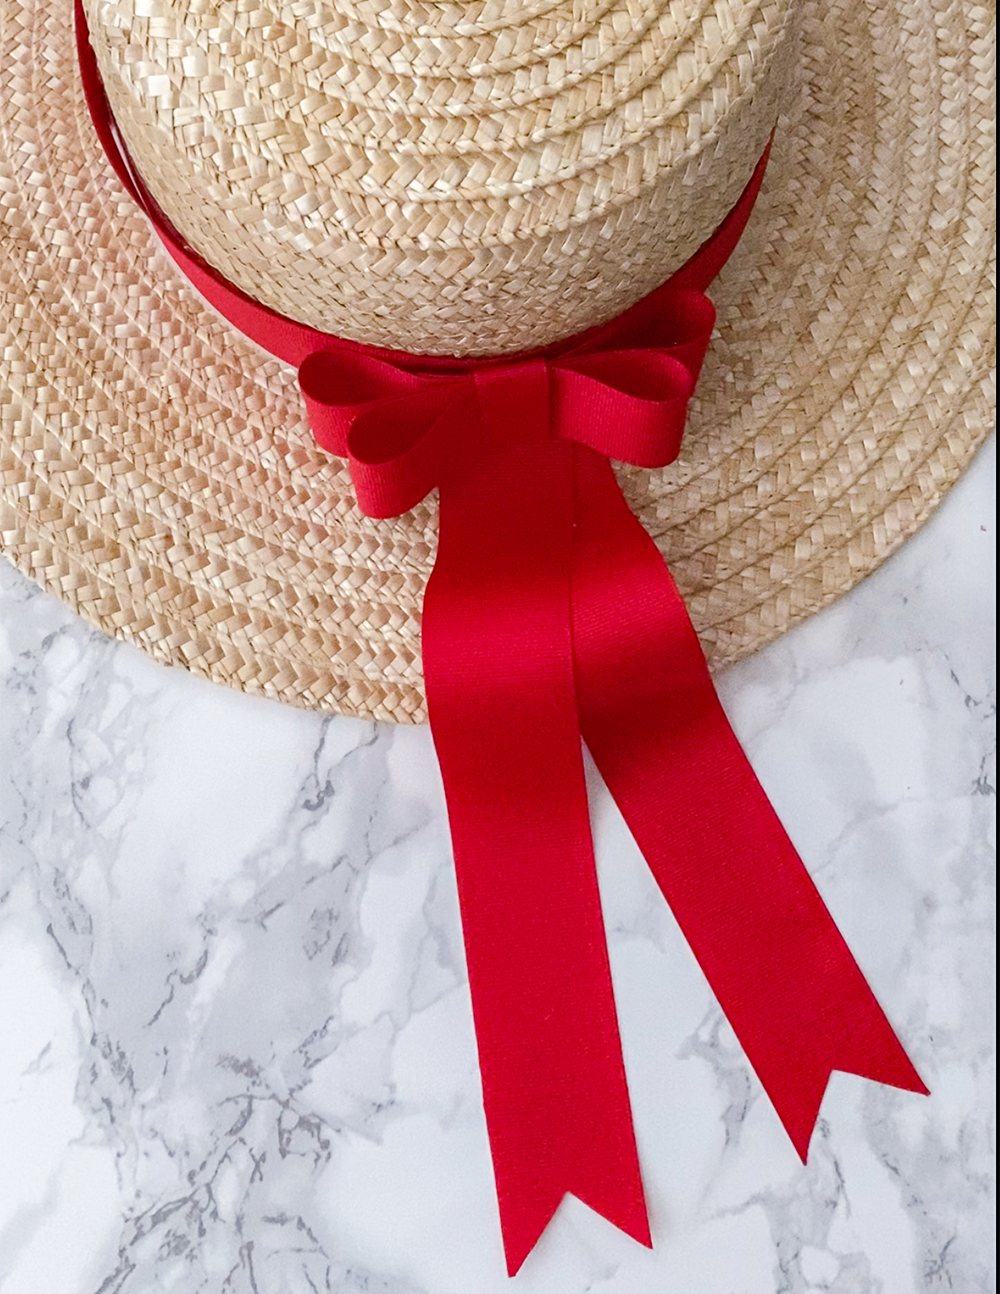
Over the summer, straw hats were a staple in my wardrobe. I have to protect my face from the sun, you know. And honestly, I have so many I can’t just let them sit around collecting dust until next summer. So I’m updating my hats for fall by adding new ribbons. I’ll show you how you can too!
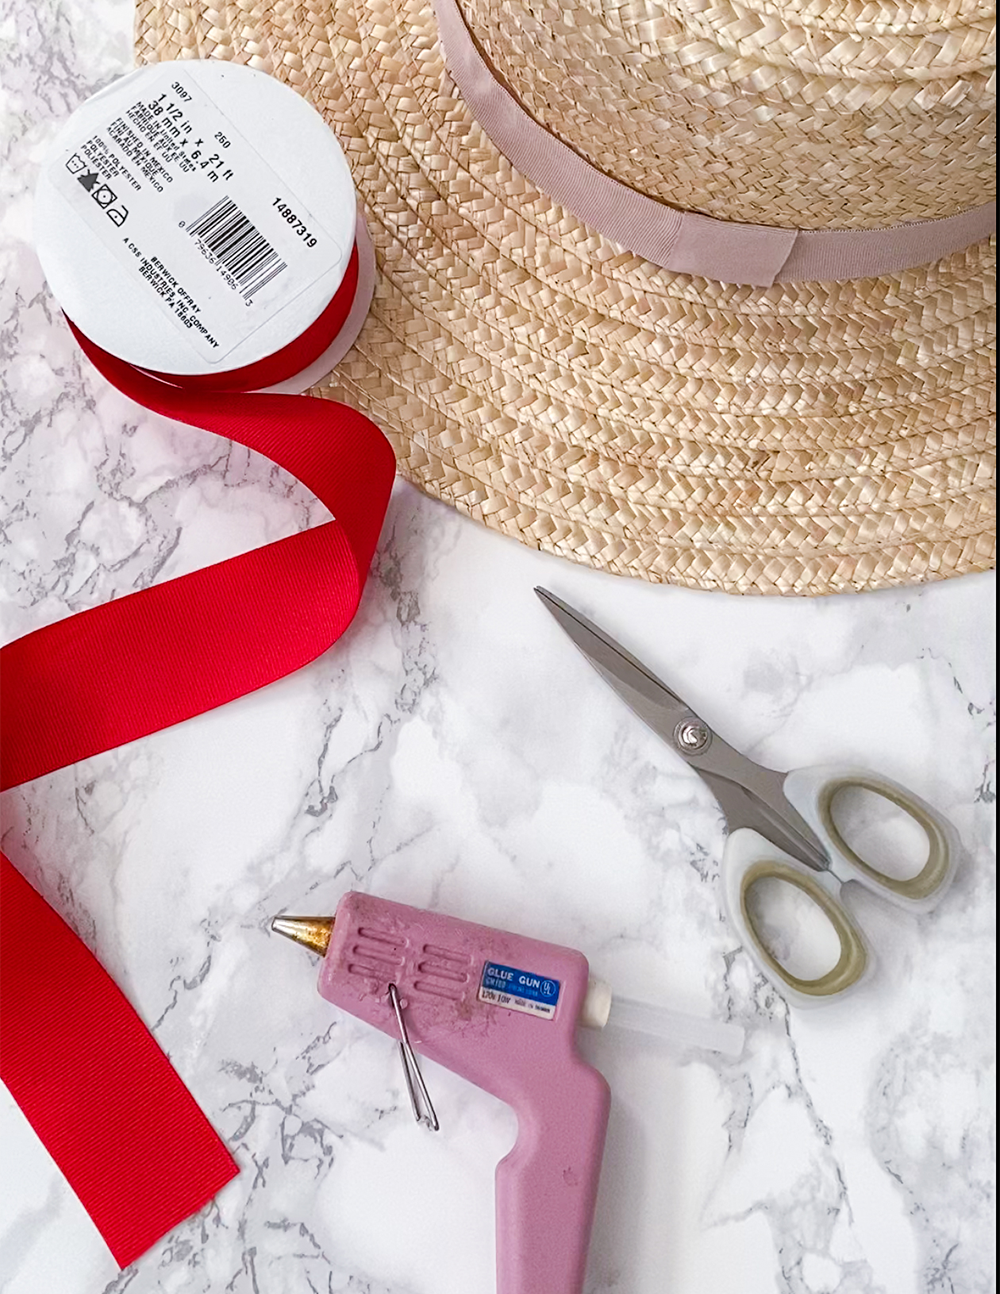
Here’s what you’ll need
- Hat
- Ribbon (1.5” wide)
- Scissors
- Hot glue gun
Instructions
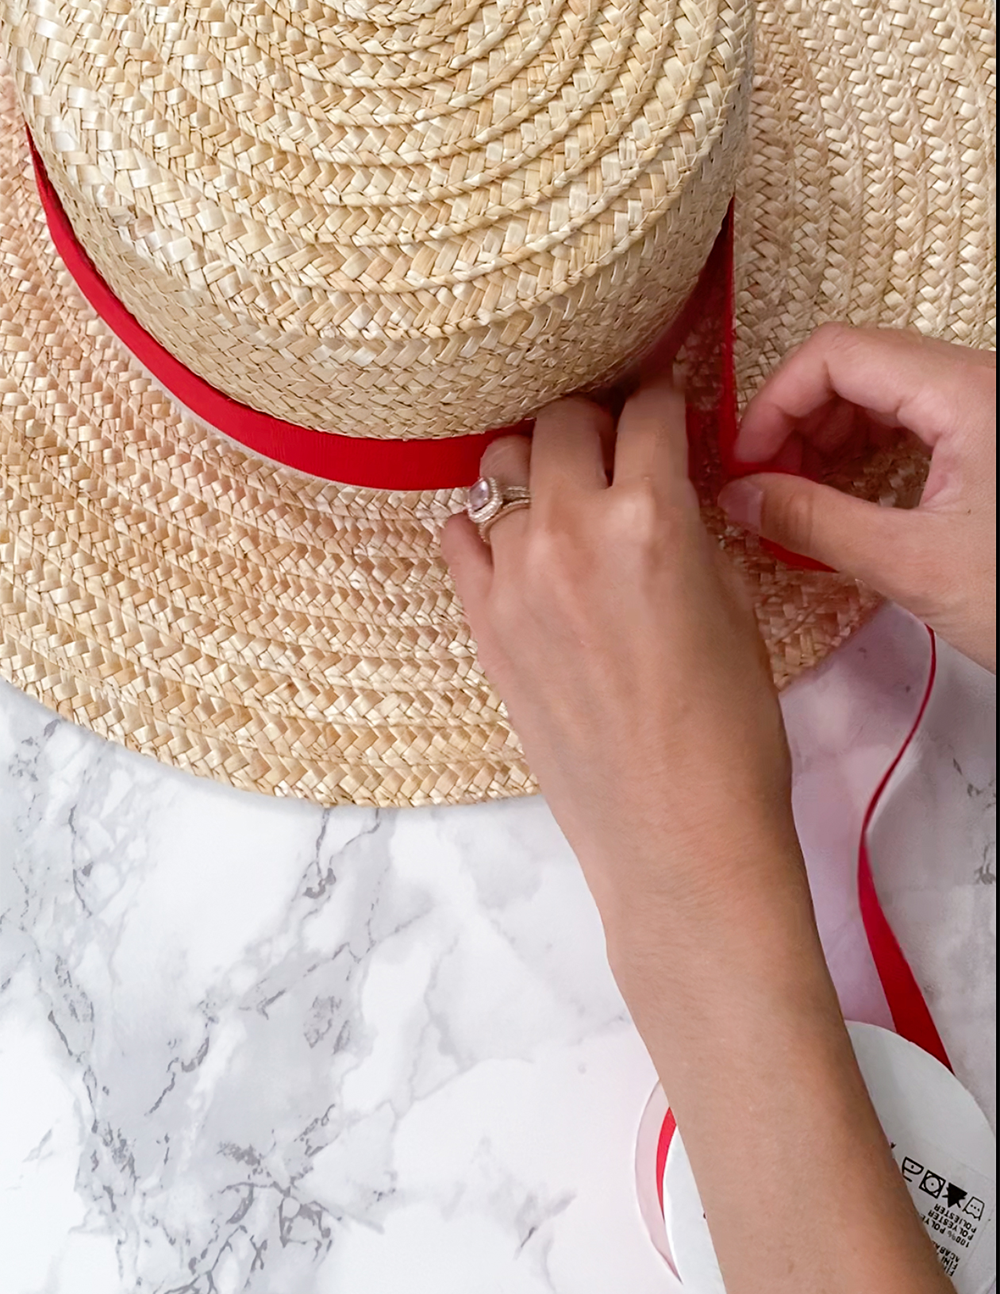
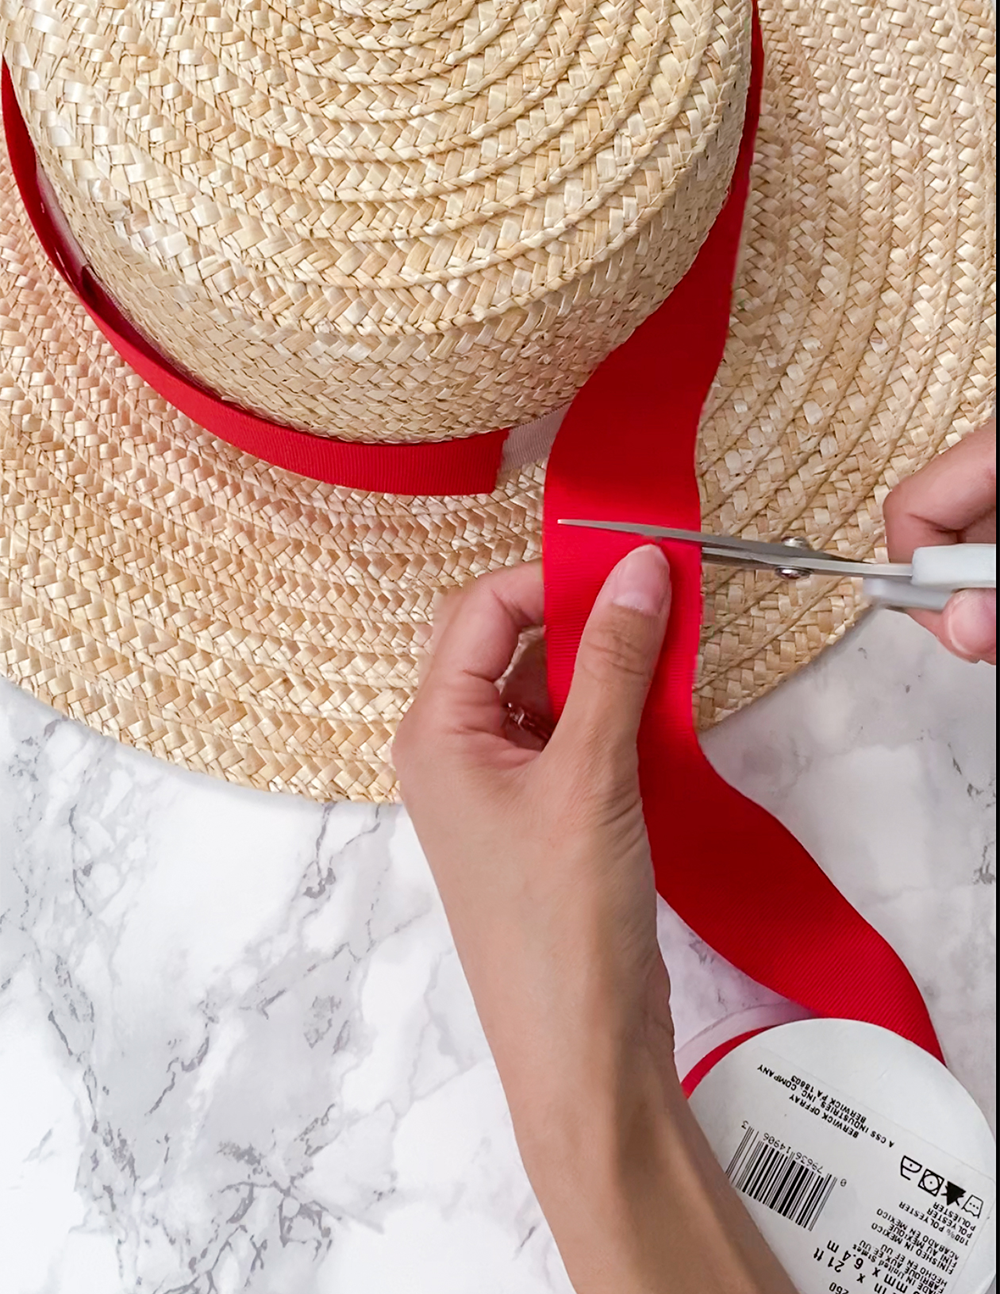
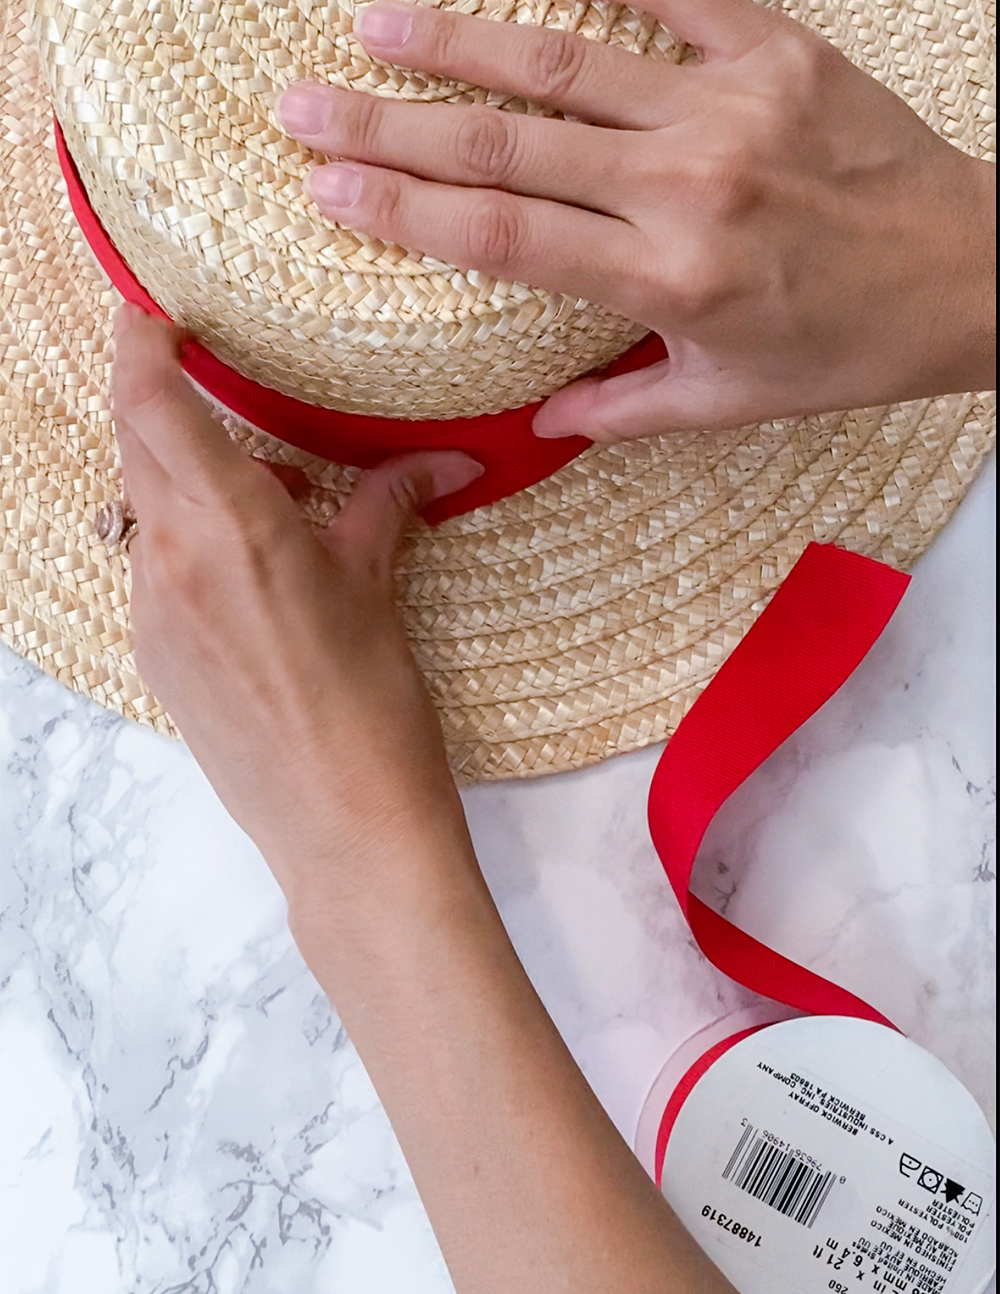
First, wrap the ribbon around the base of the crown, and cut it with a little bit of overlap.
Glue it down.
Note: Chances are that the crown of the hat tapers towards the top, so the ribbon won’t completely line up. But that’s ok because the bow will cover it.
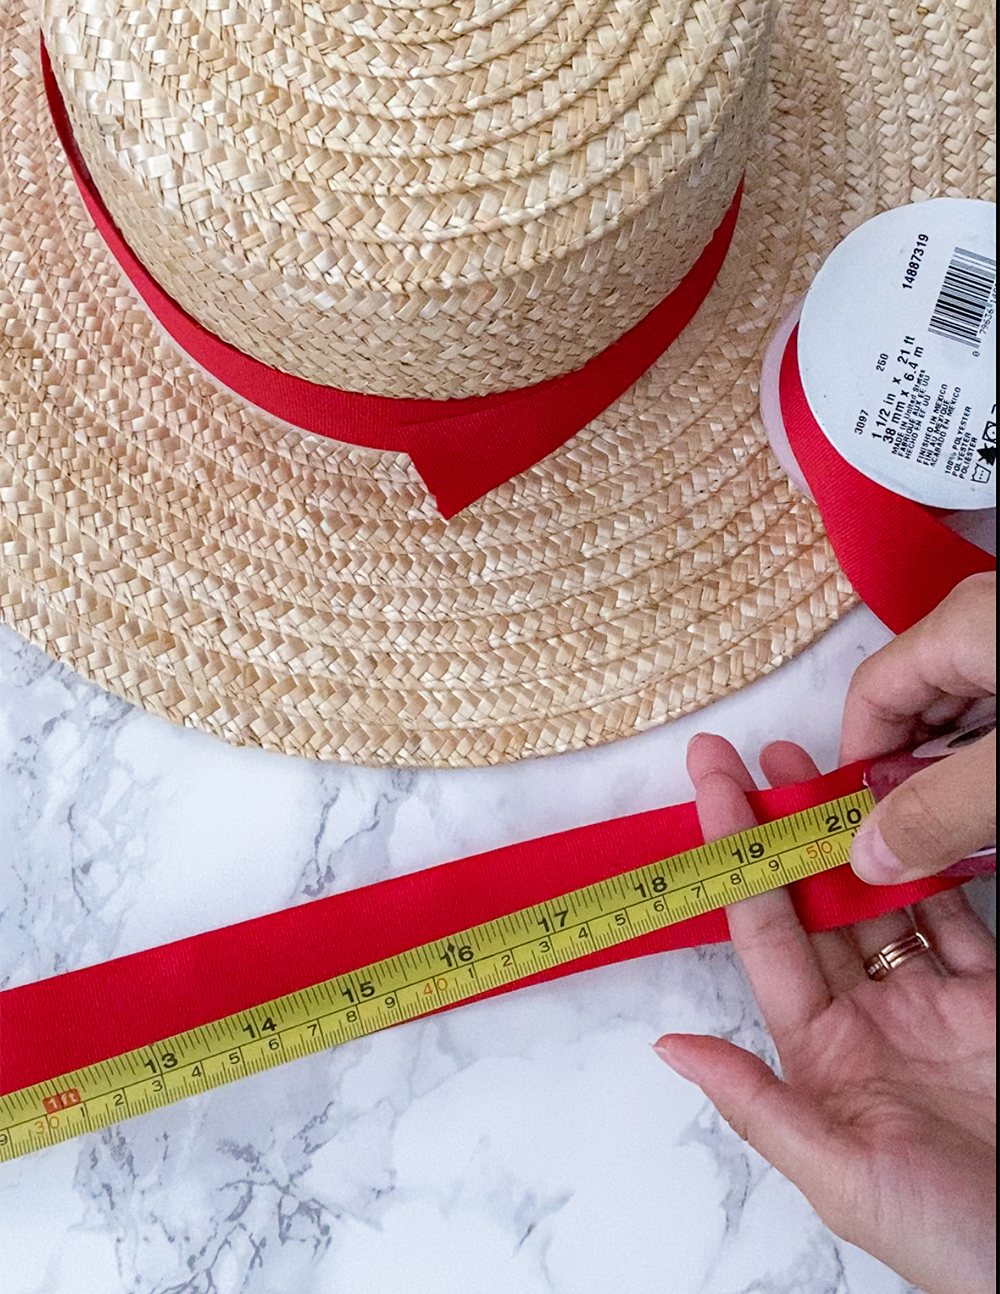
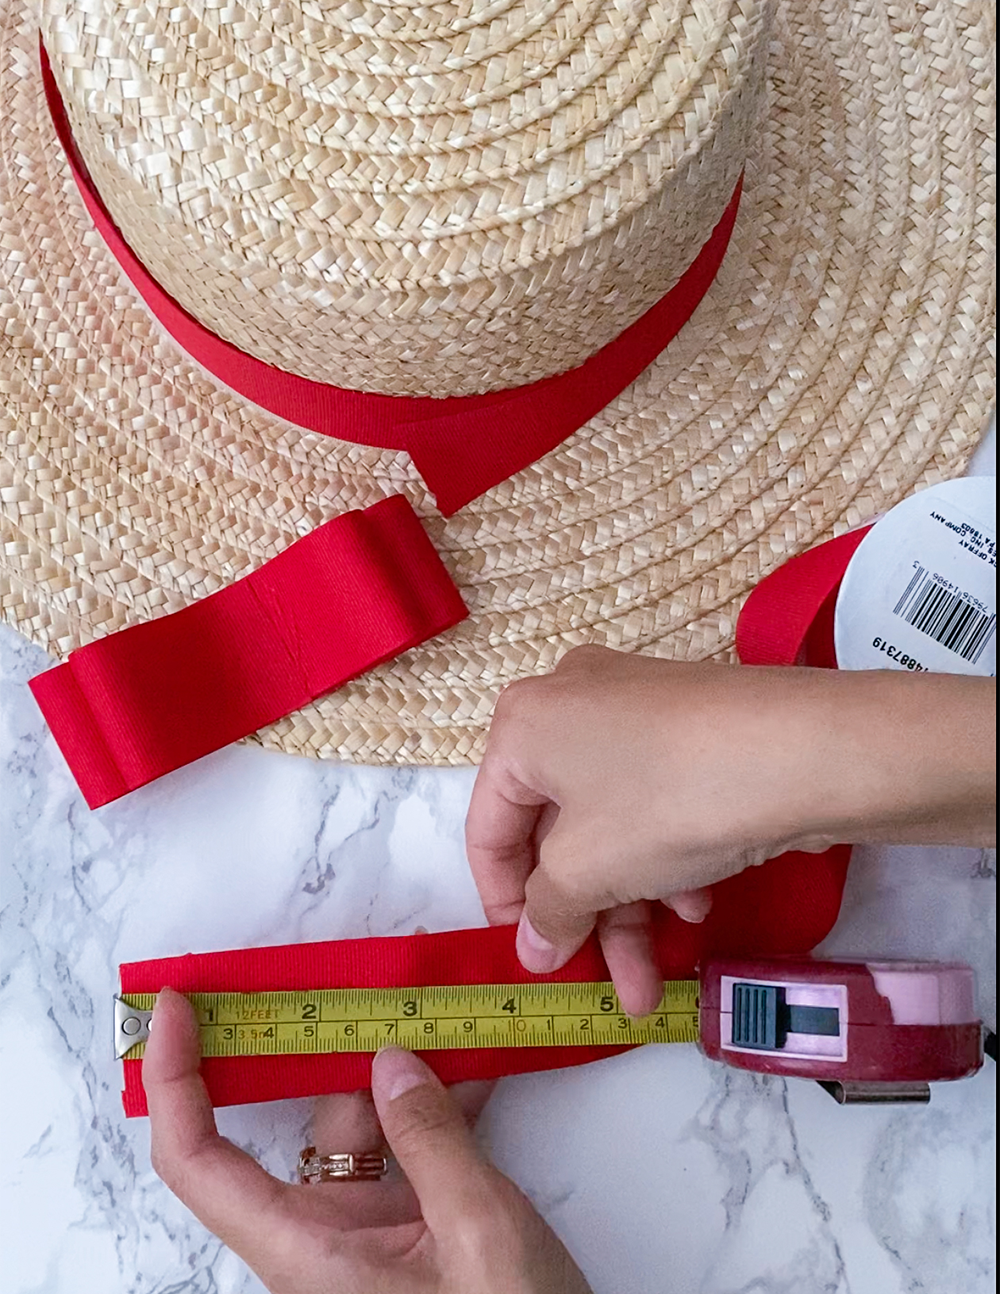
Then cut another ribbon about 18”-20” long.
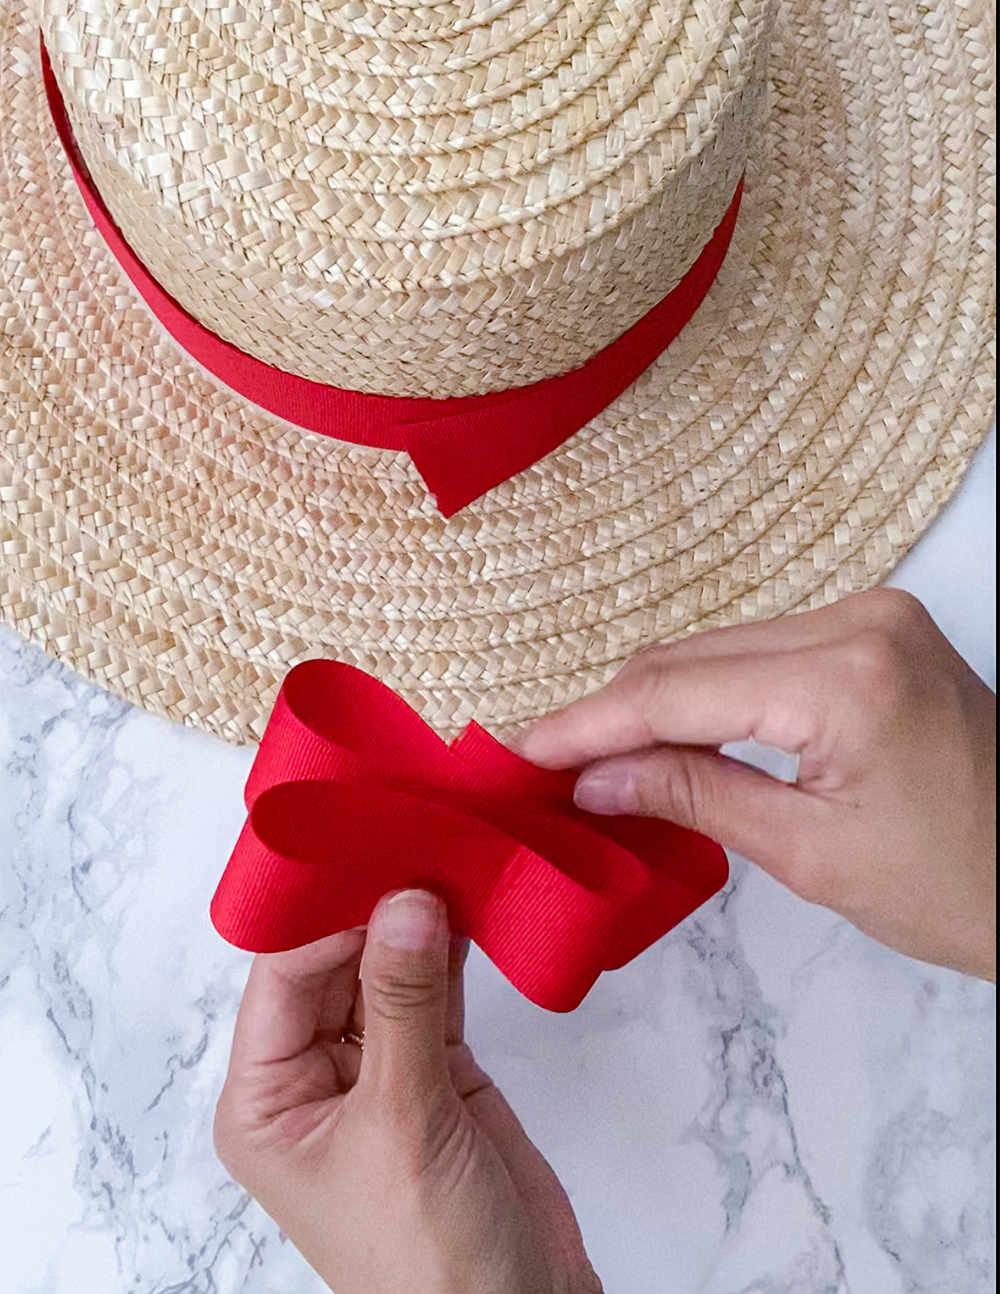
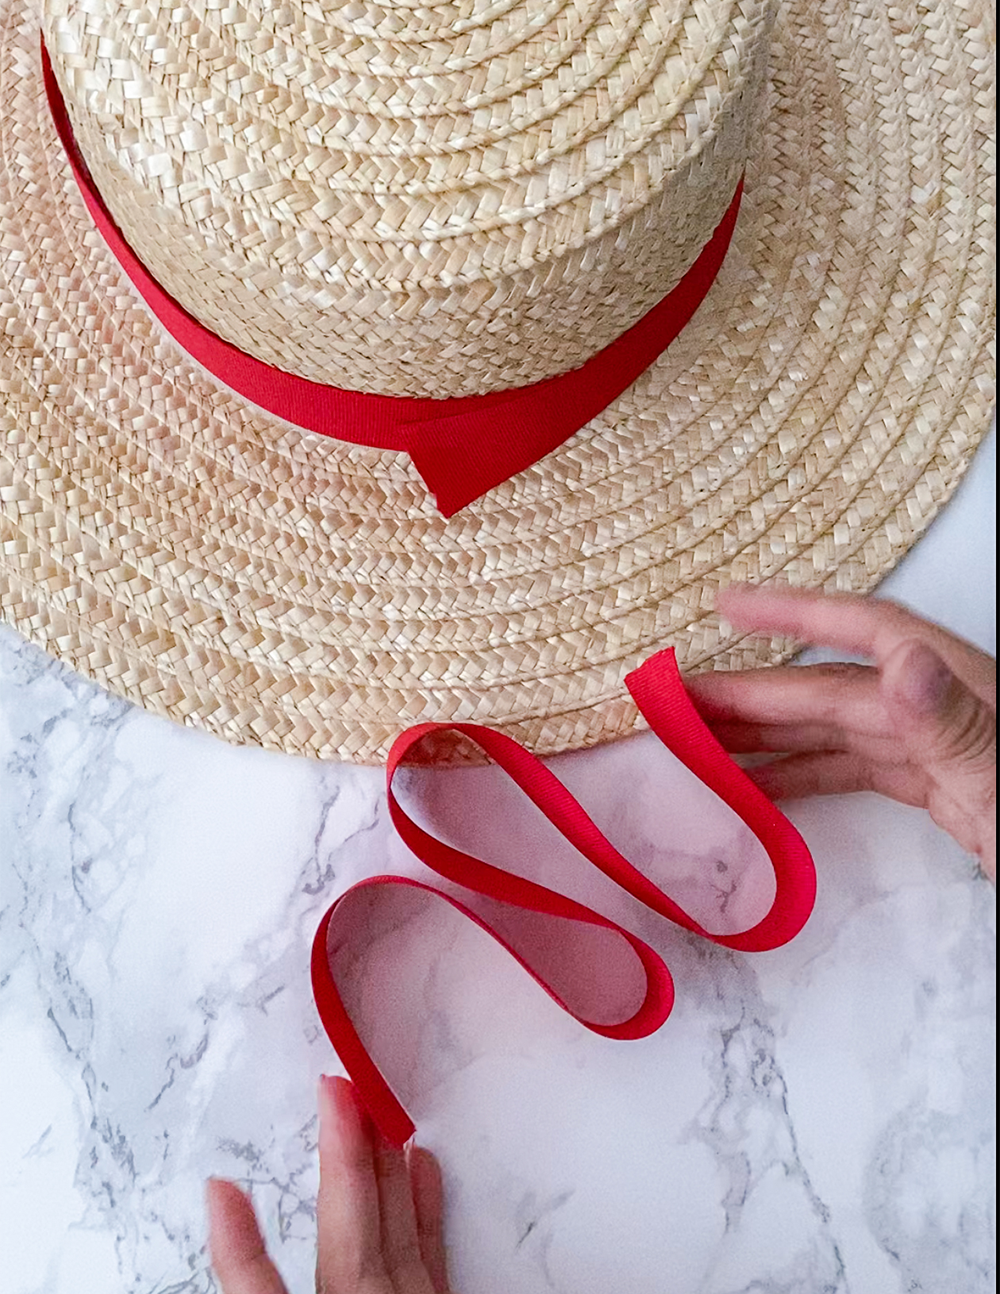
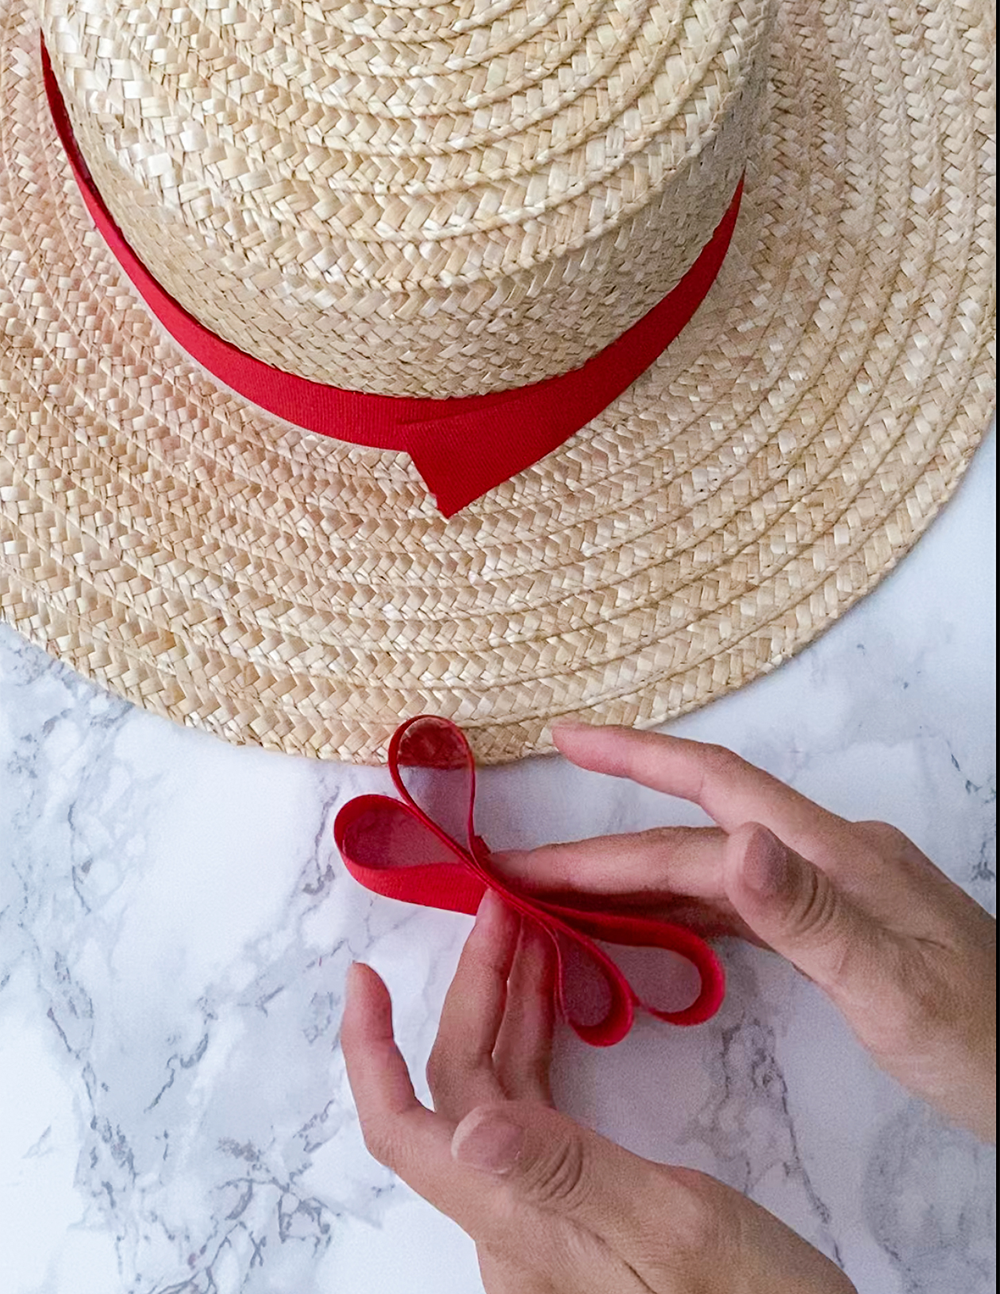
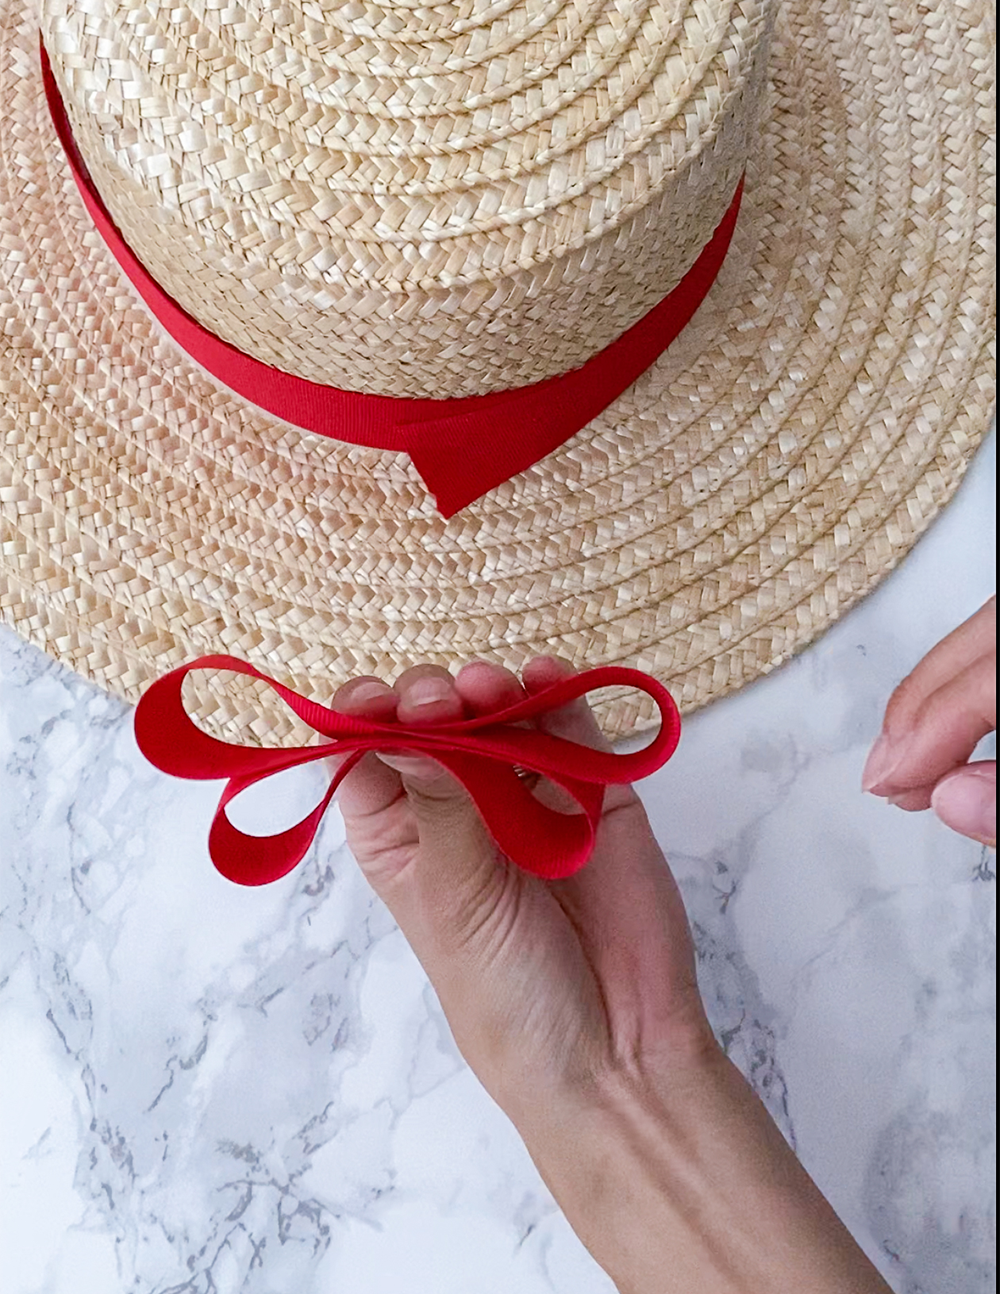
Fold the ribbon in an S-curve 4 times, with the first two loops being slightly smaller than the last two loops.
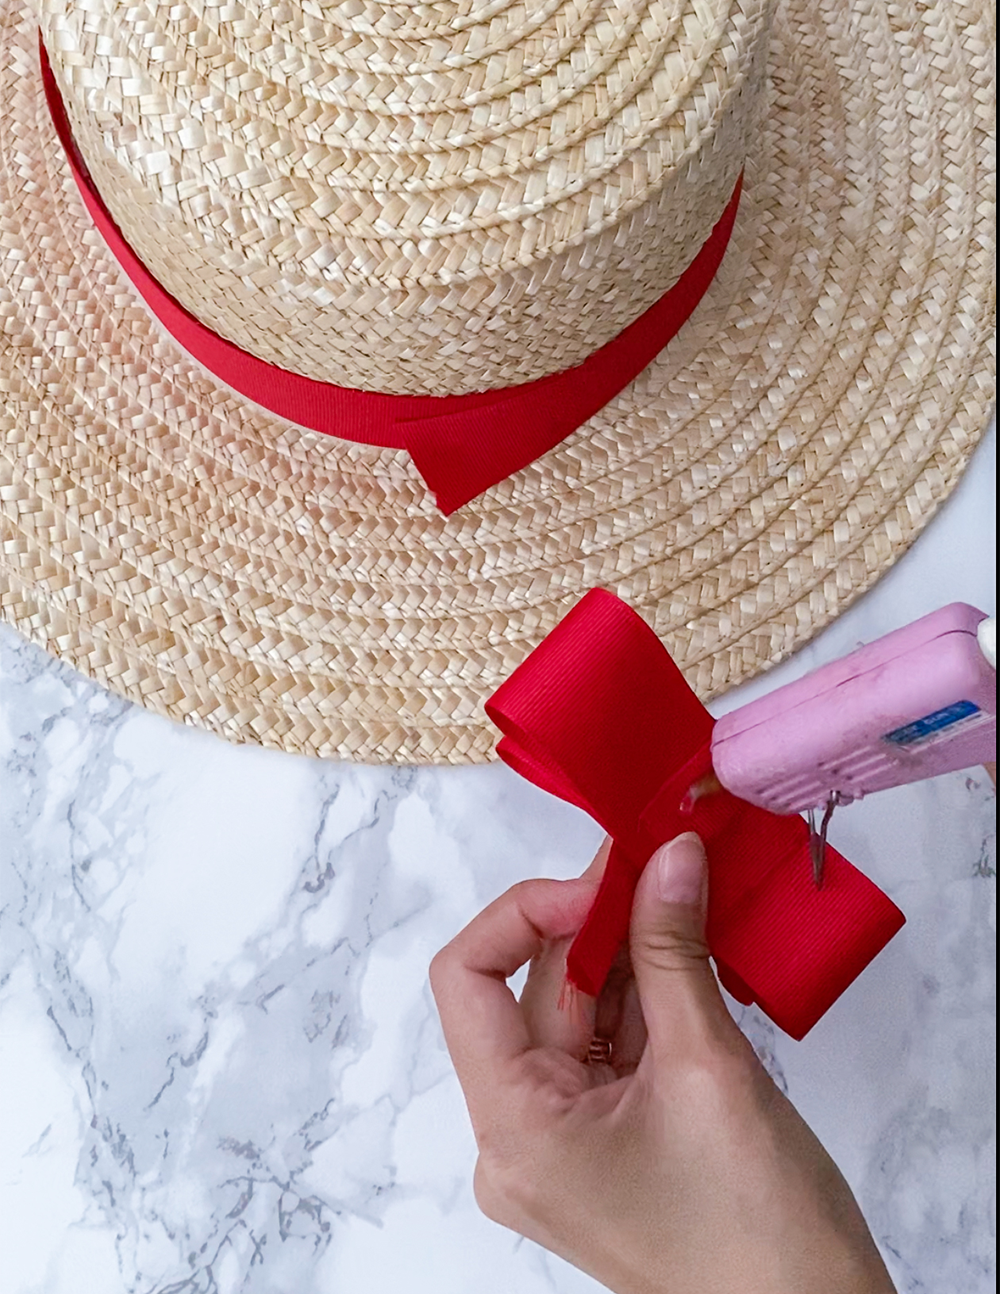
Glue the center of each layer.
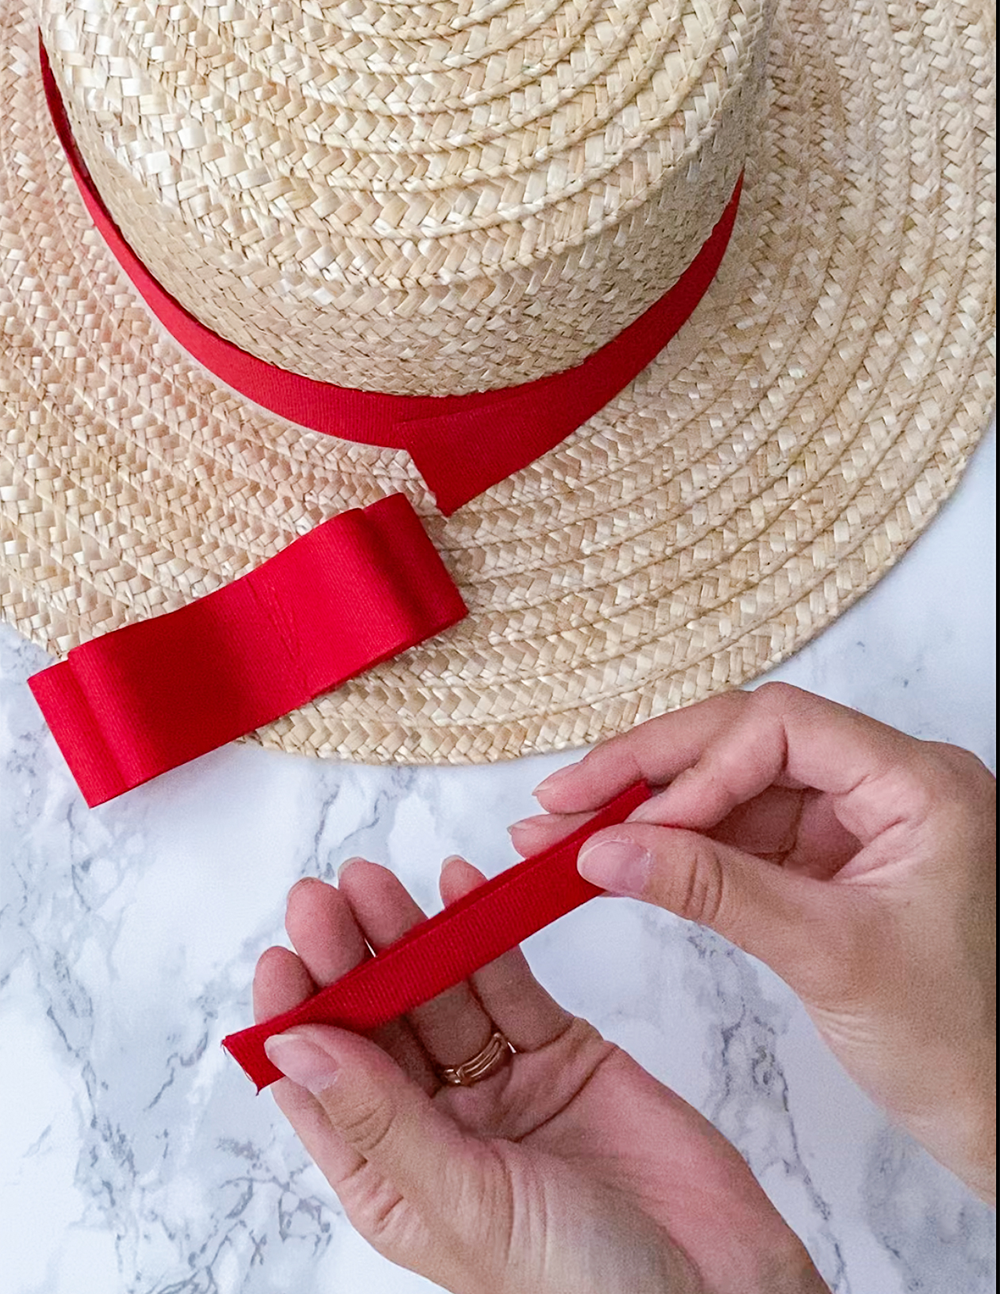
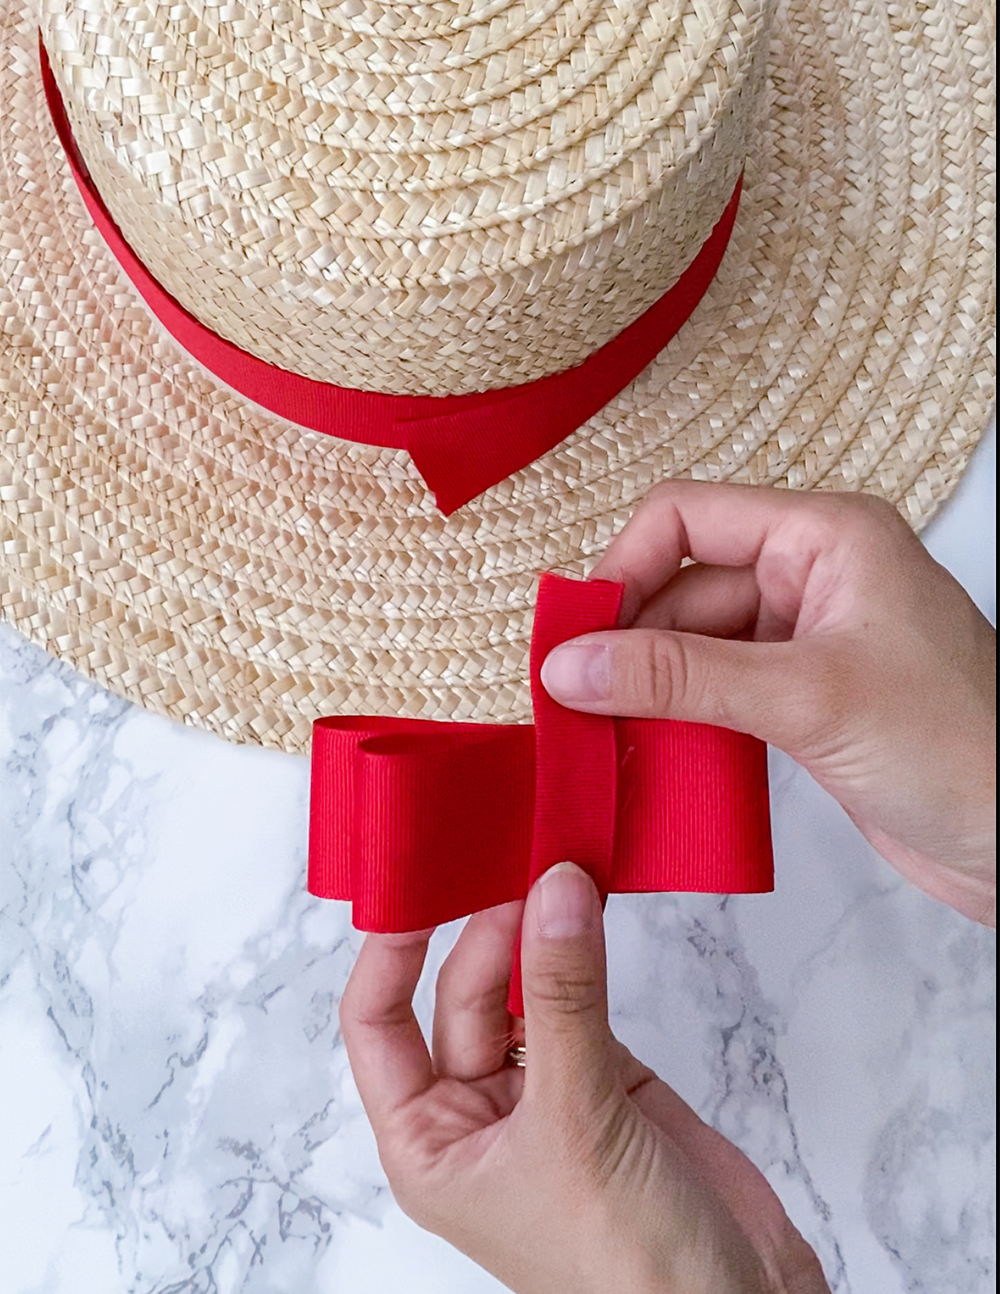
Cut another ribbon 4″ long, and glue it in half lengthwise.
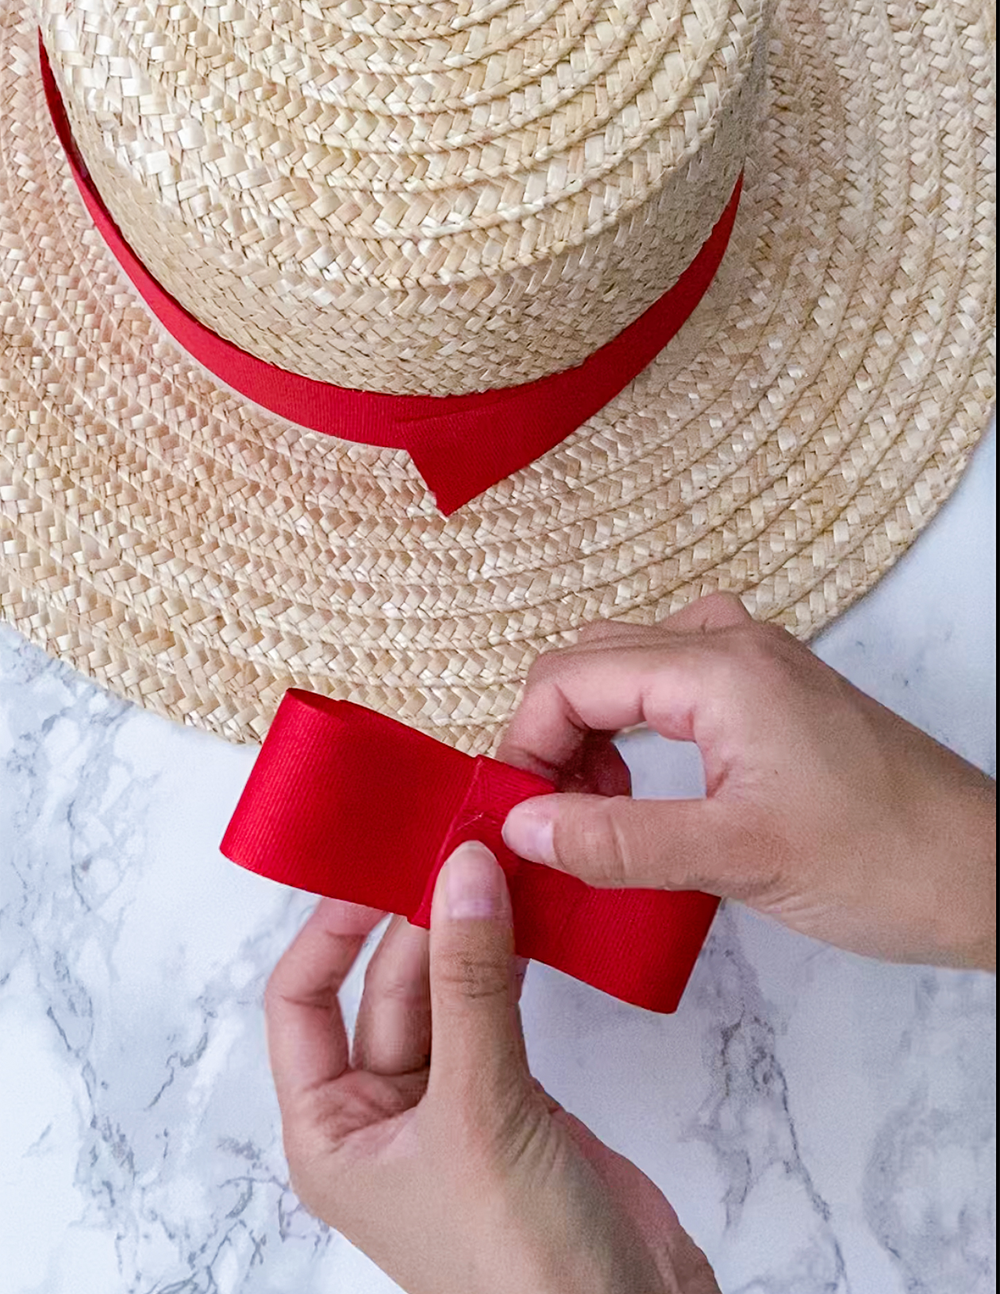
Then wrap it around the center of the bow.
And glue it in the back.
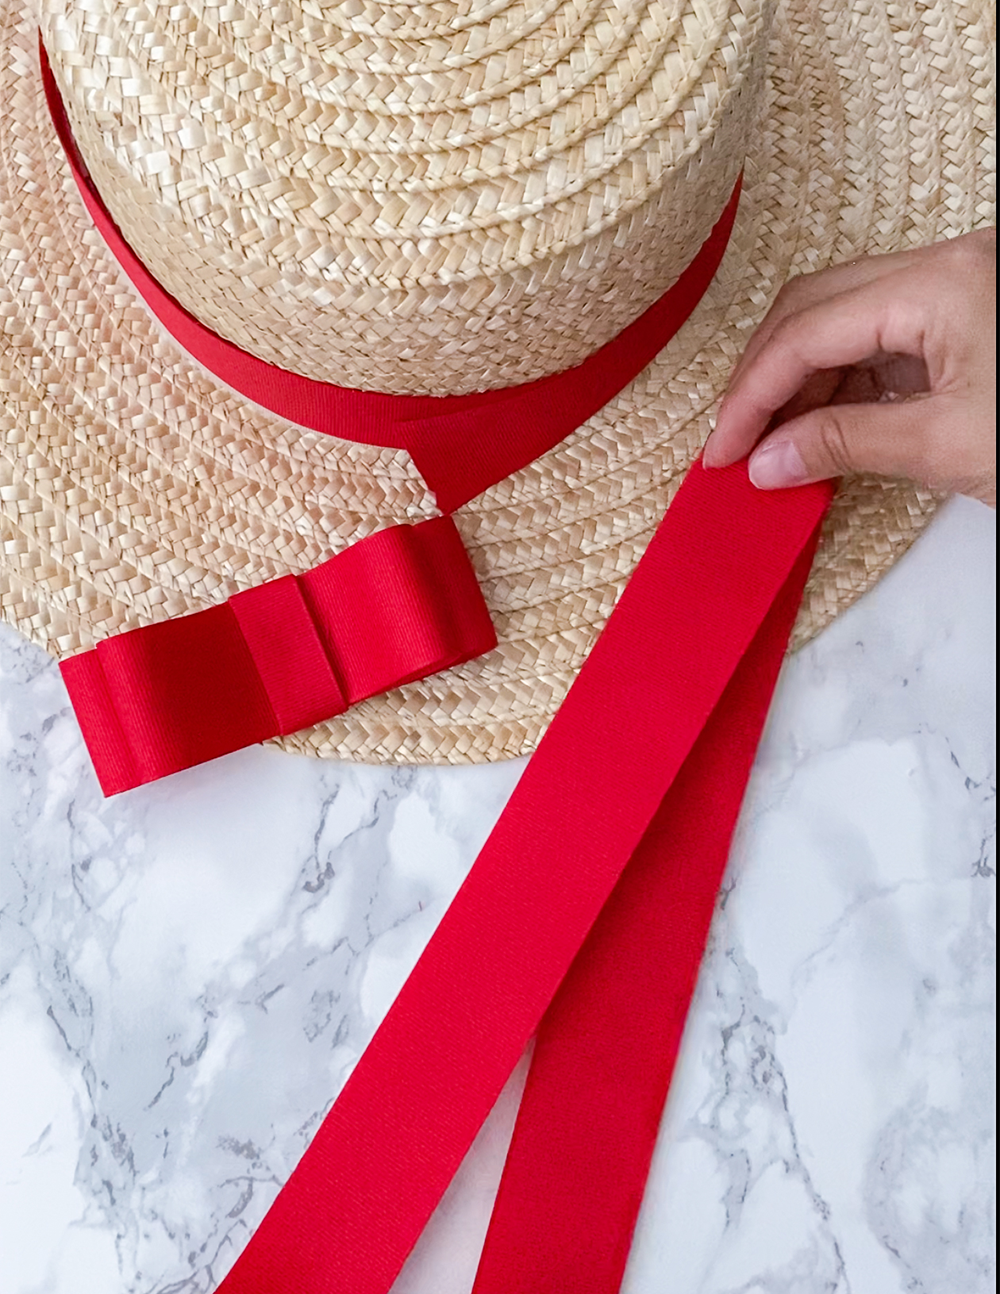
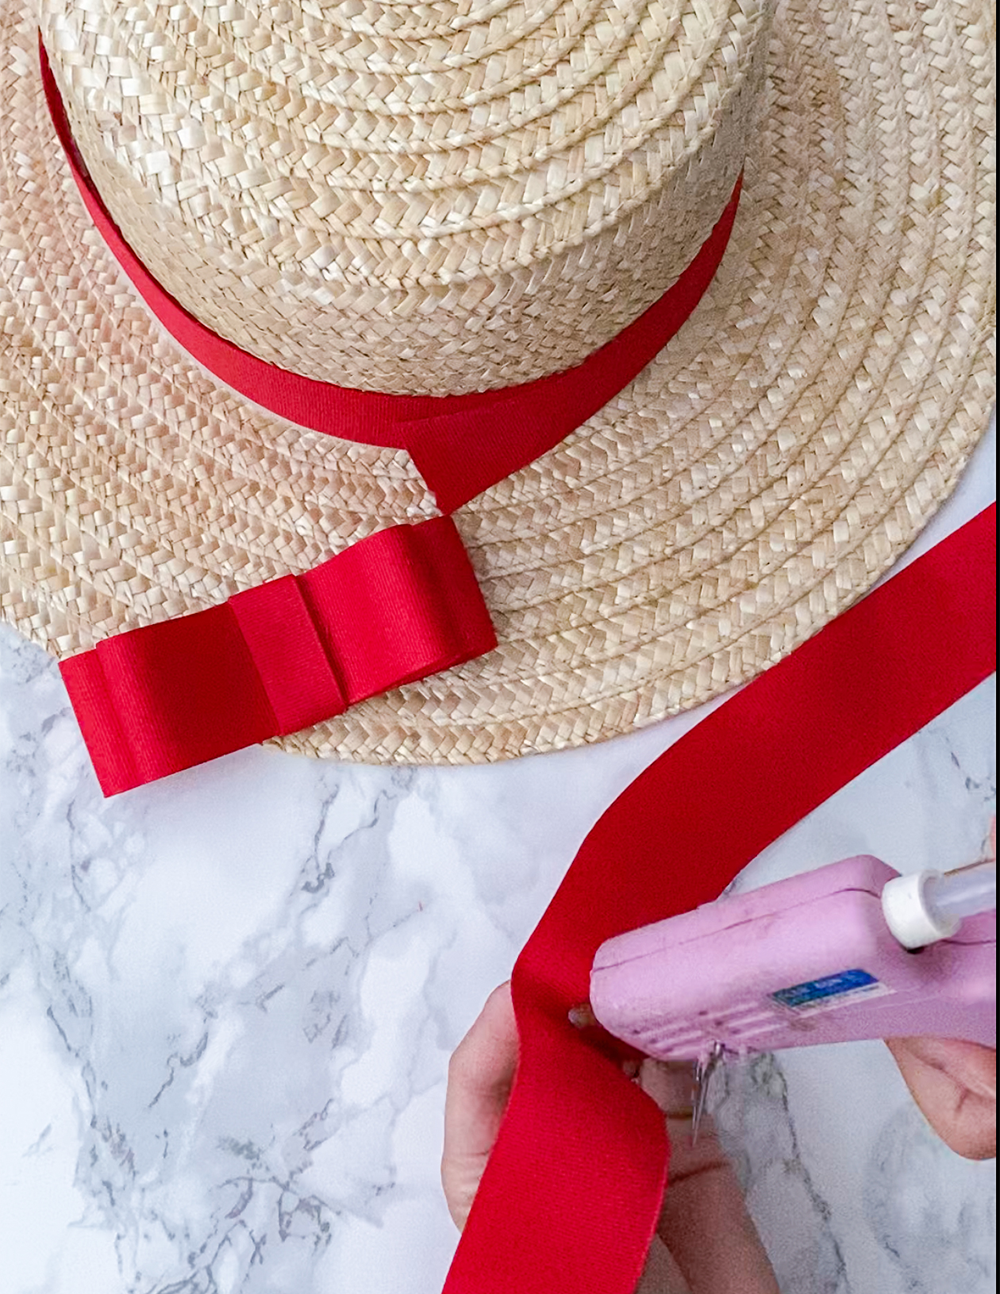
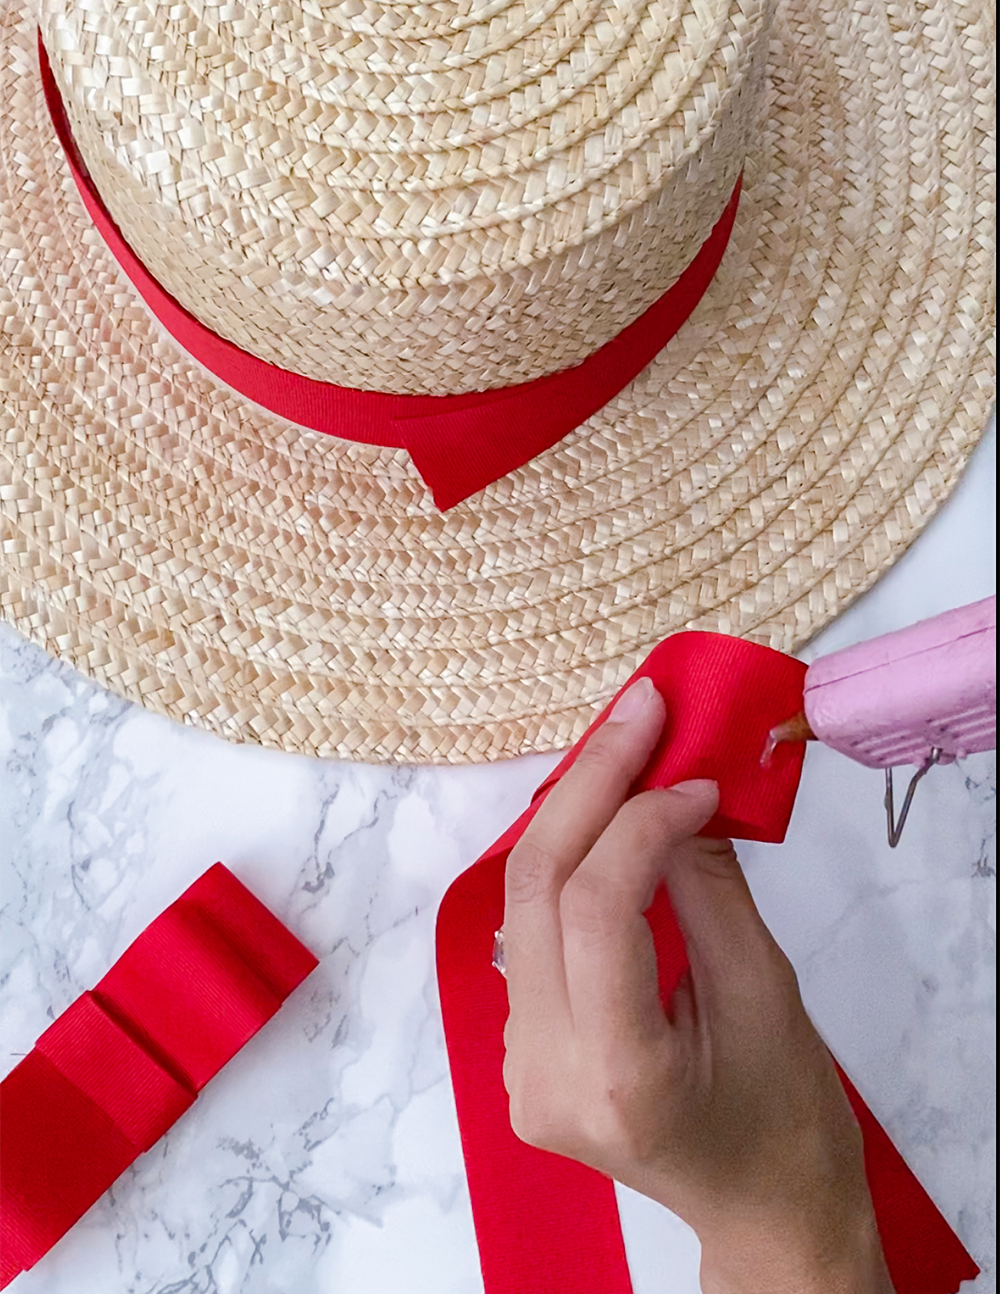
Cut one more ribbon twice the length of how long you want the tails to be. I cut mine about 2ft long.
Fold it in half and glue it in the center so that it holds the shape of a ‘V’
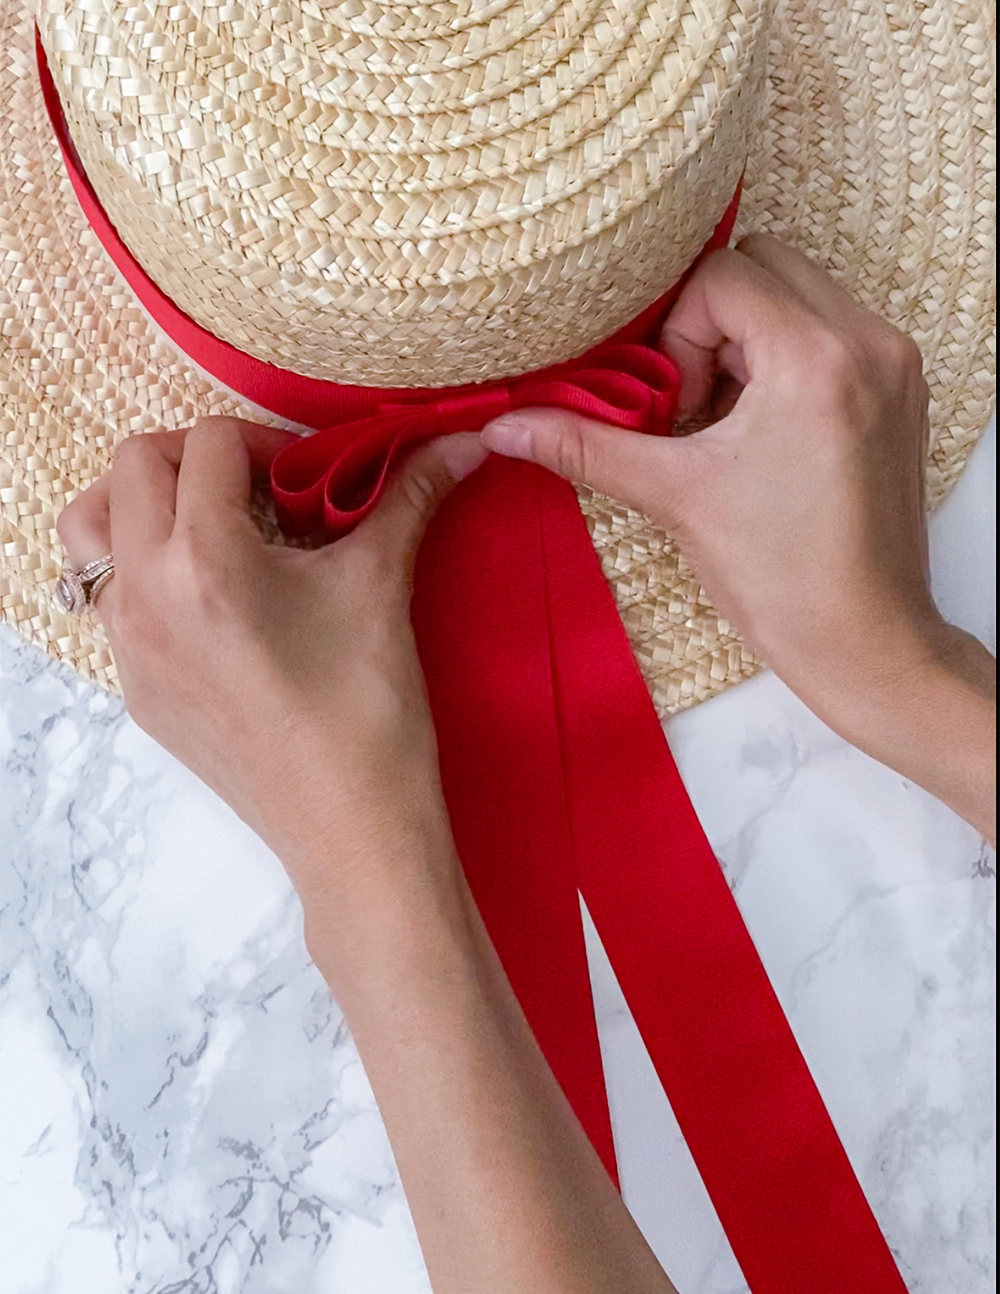
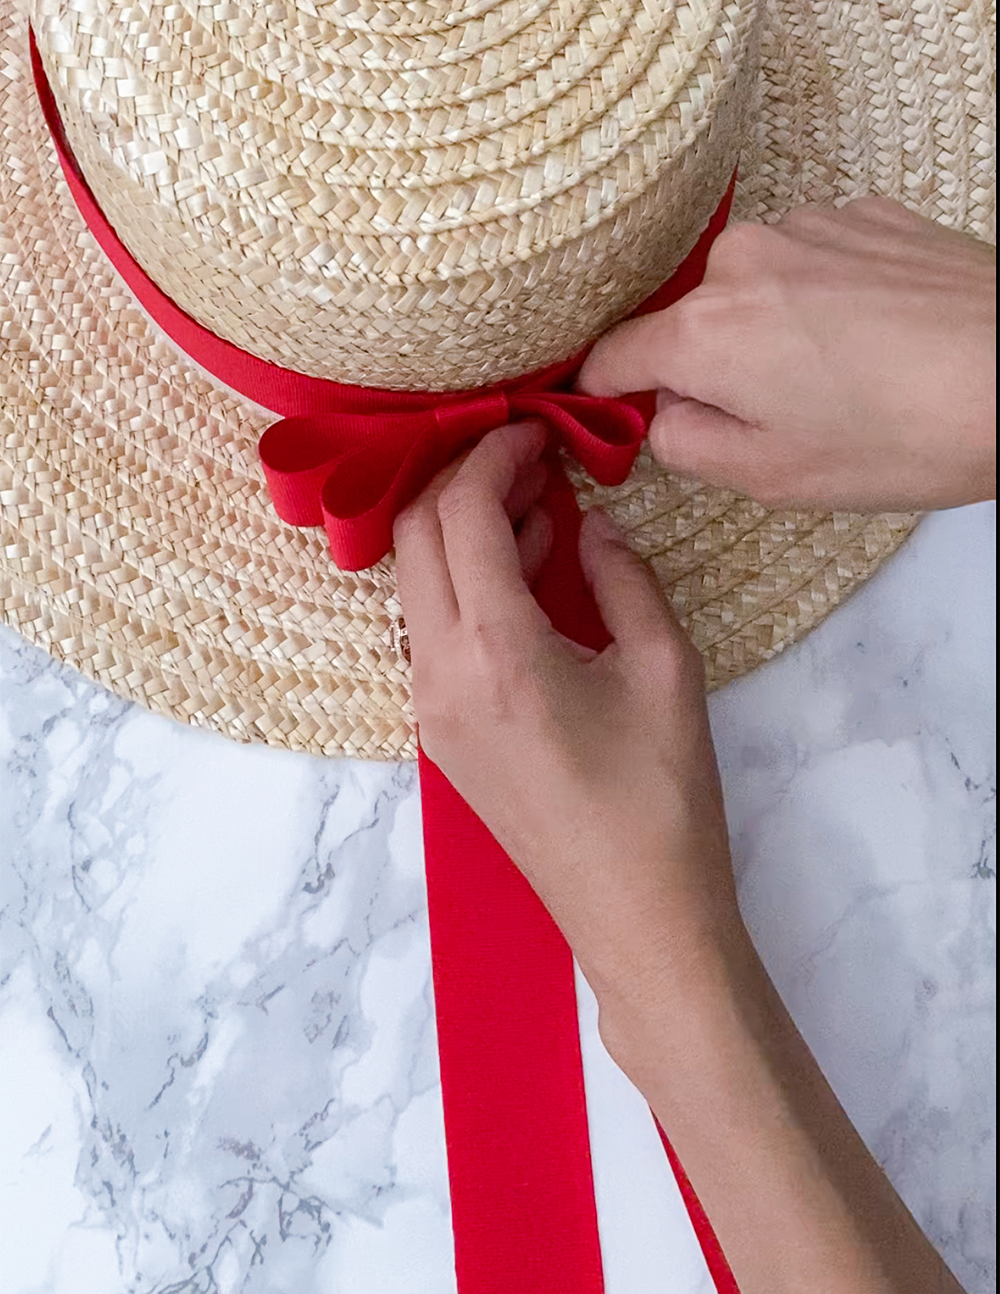
Then glue that to the ribbon on the hat.
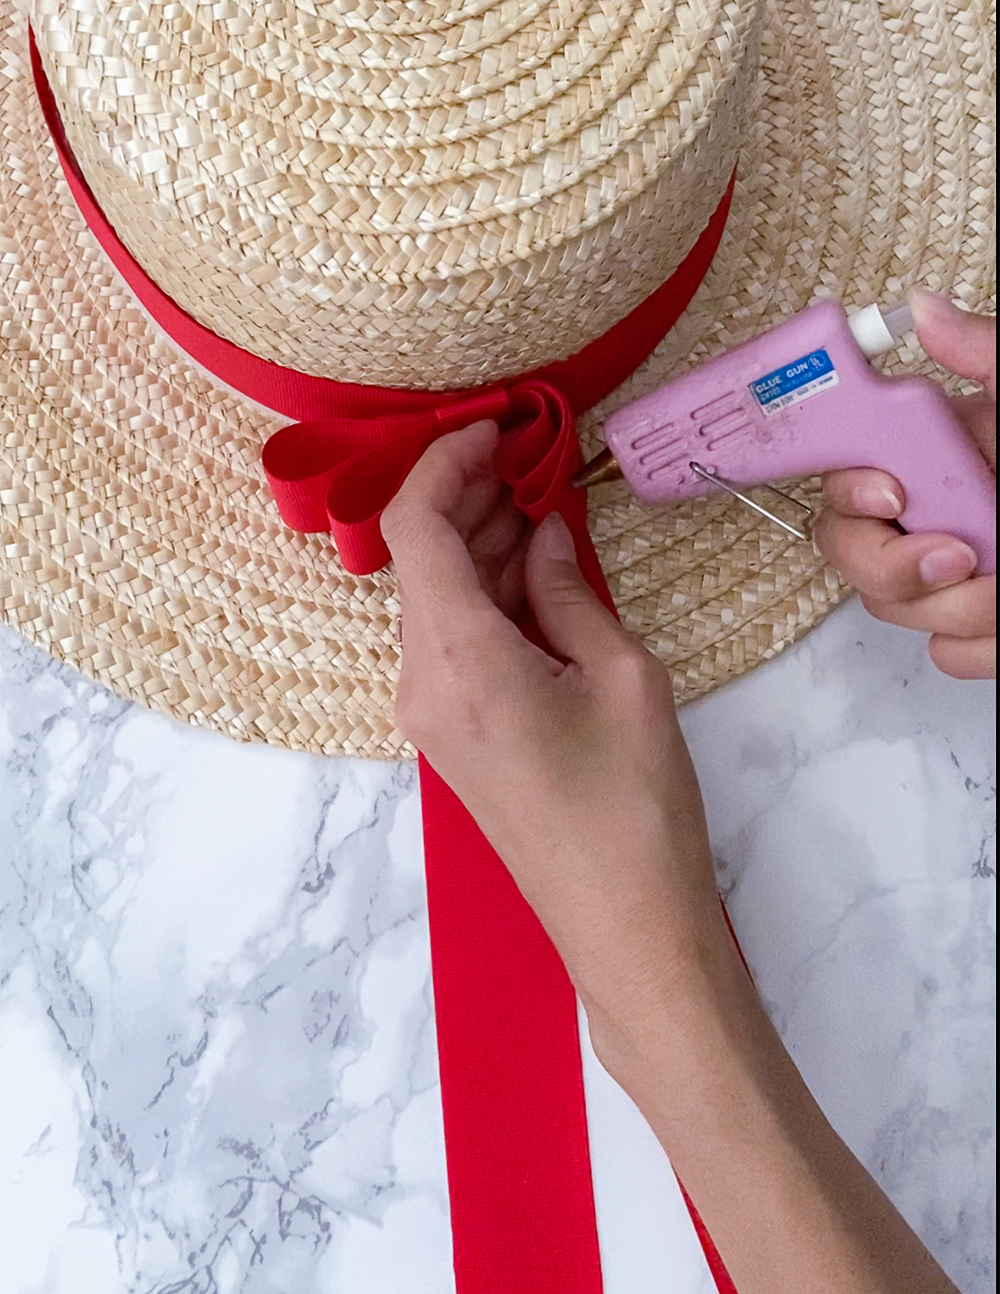
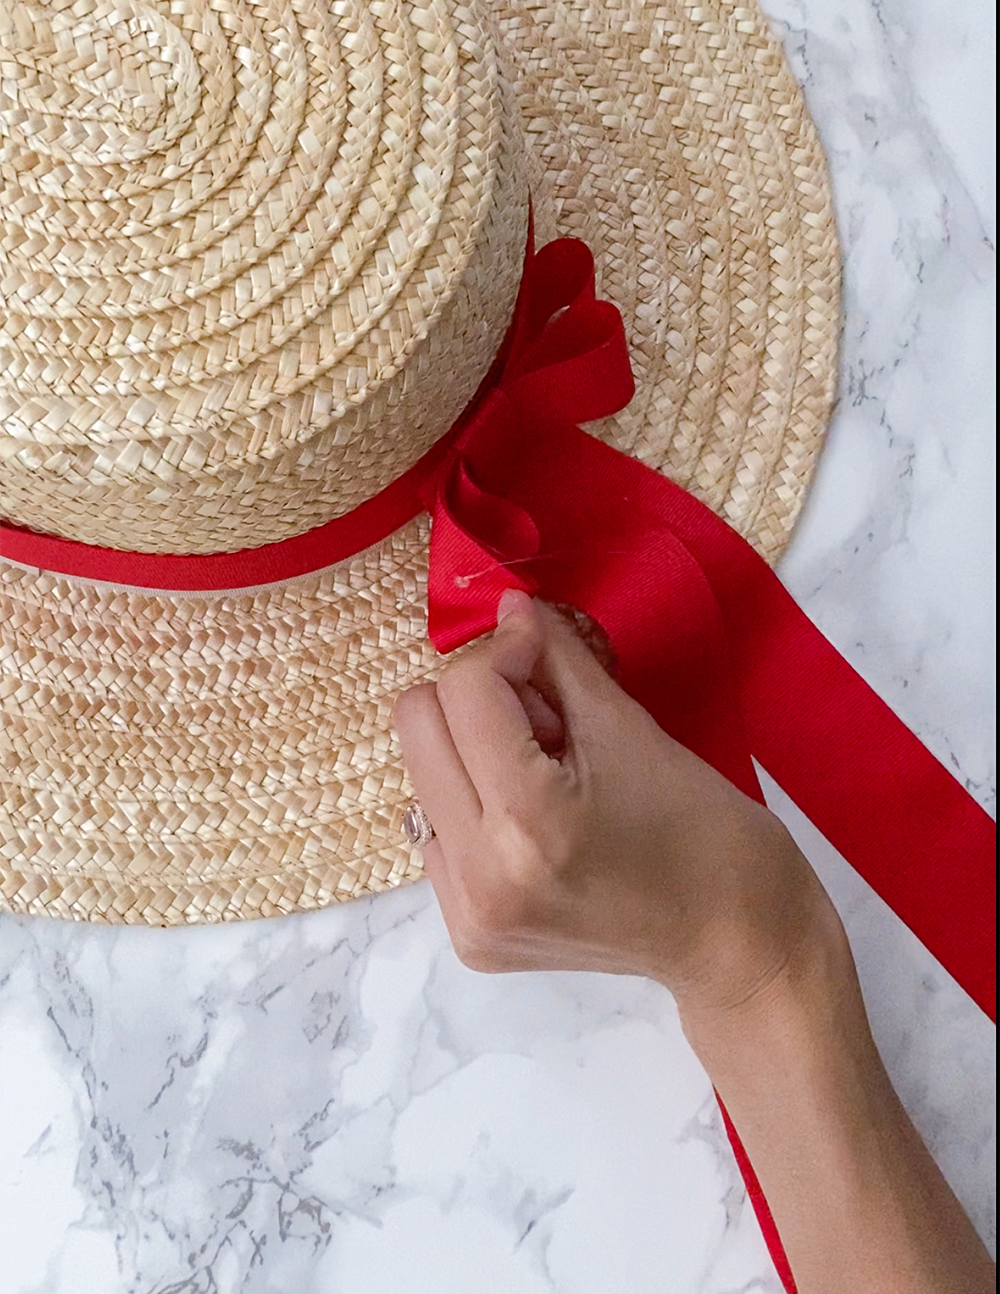
Glue the bow on top of everything.
Tack down the sides of the bow as well.
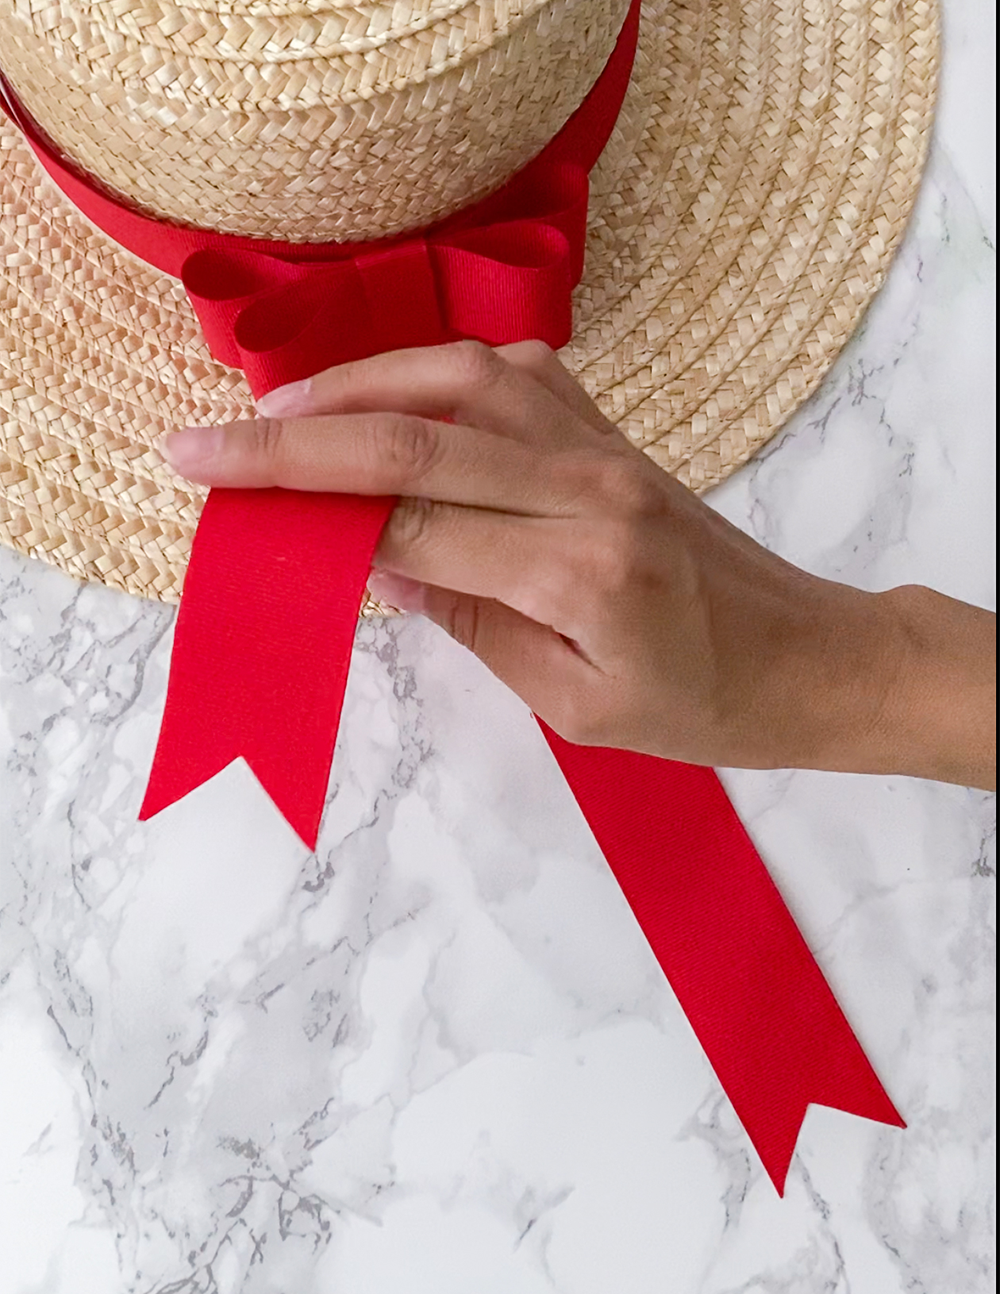
Trim the ends of tails into your desired shape.
And you’re done!













What do you think?