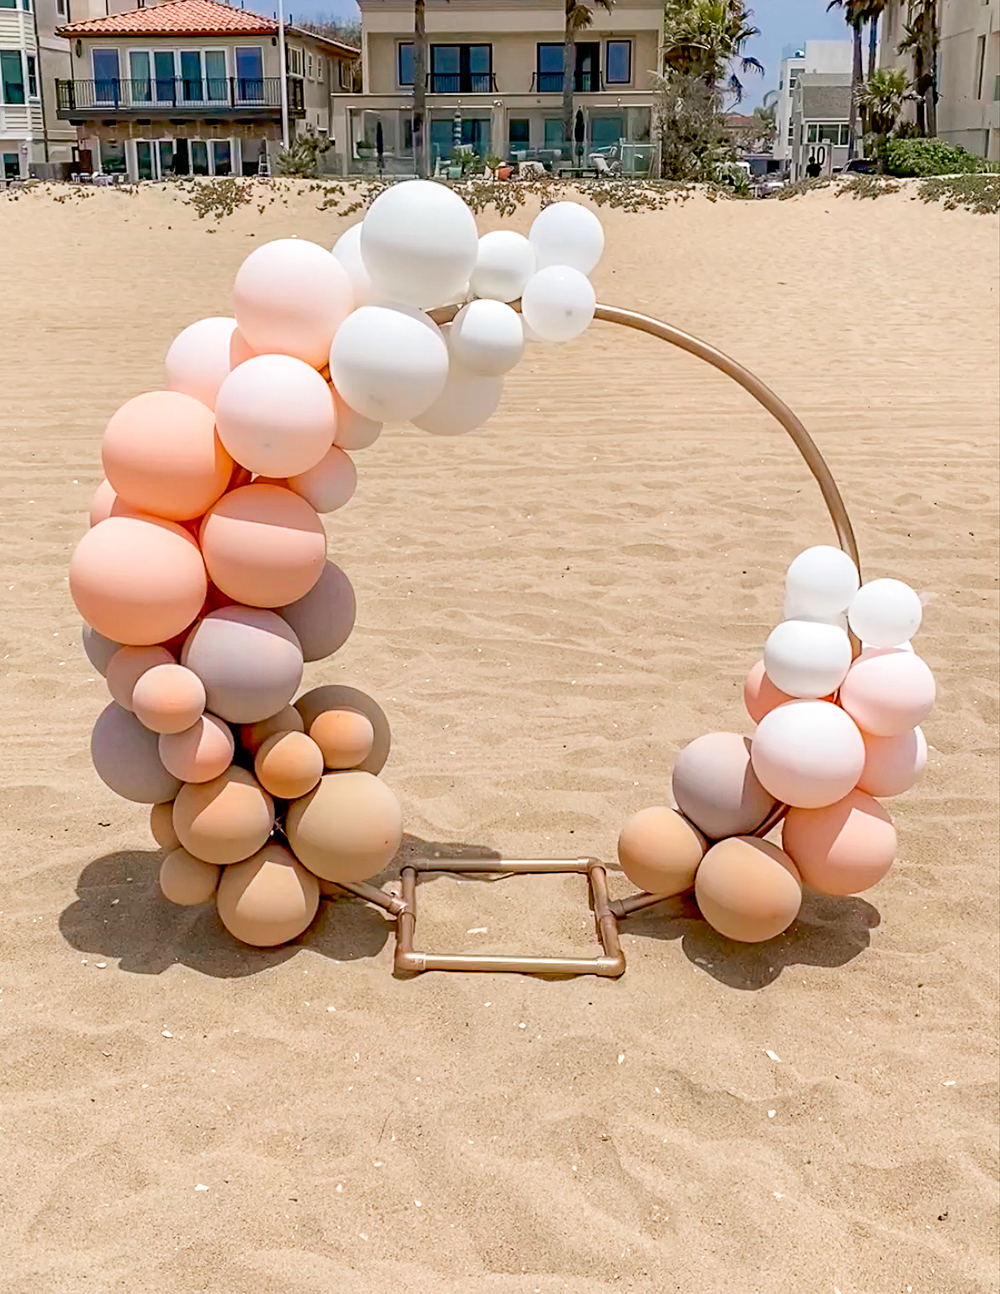
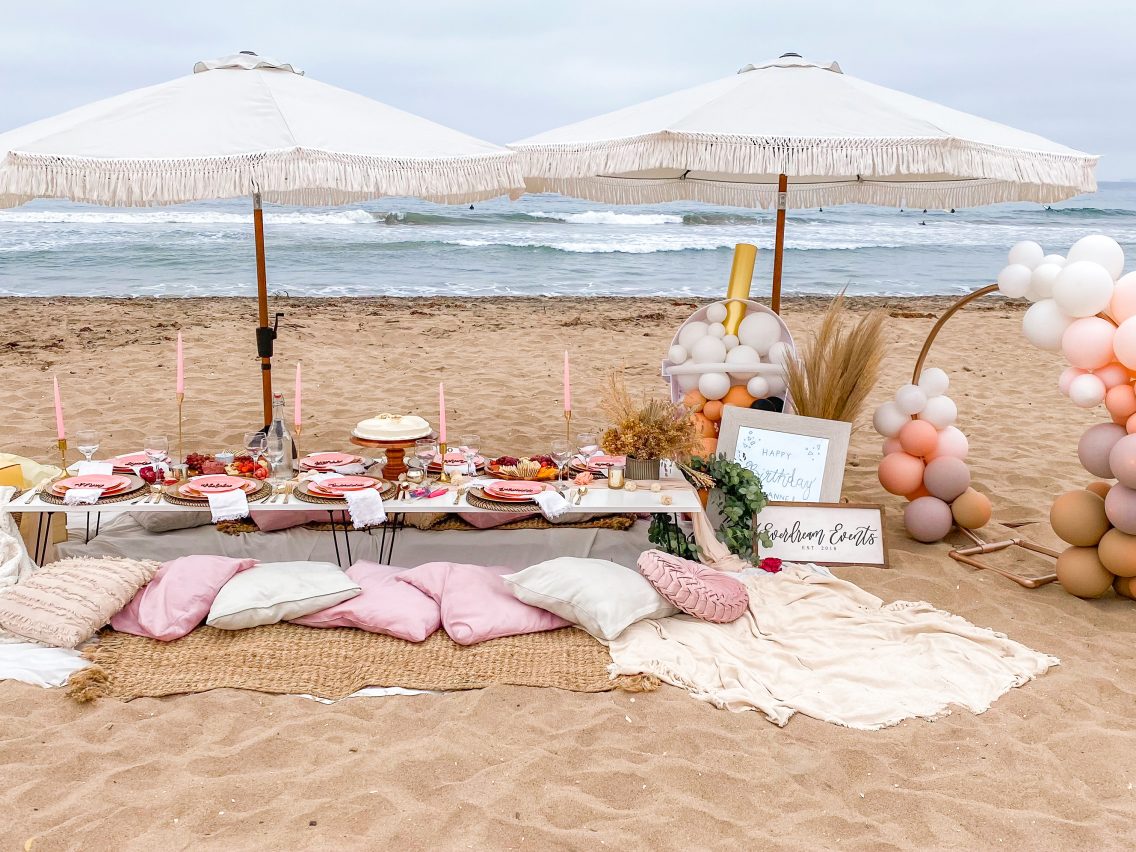
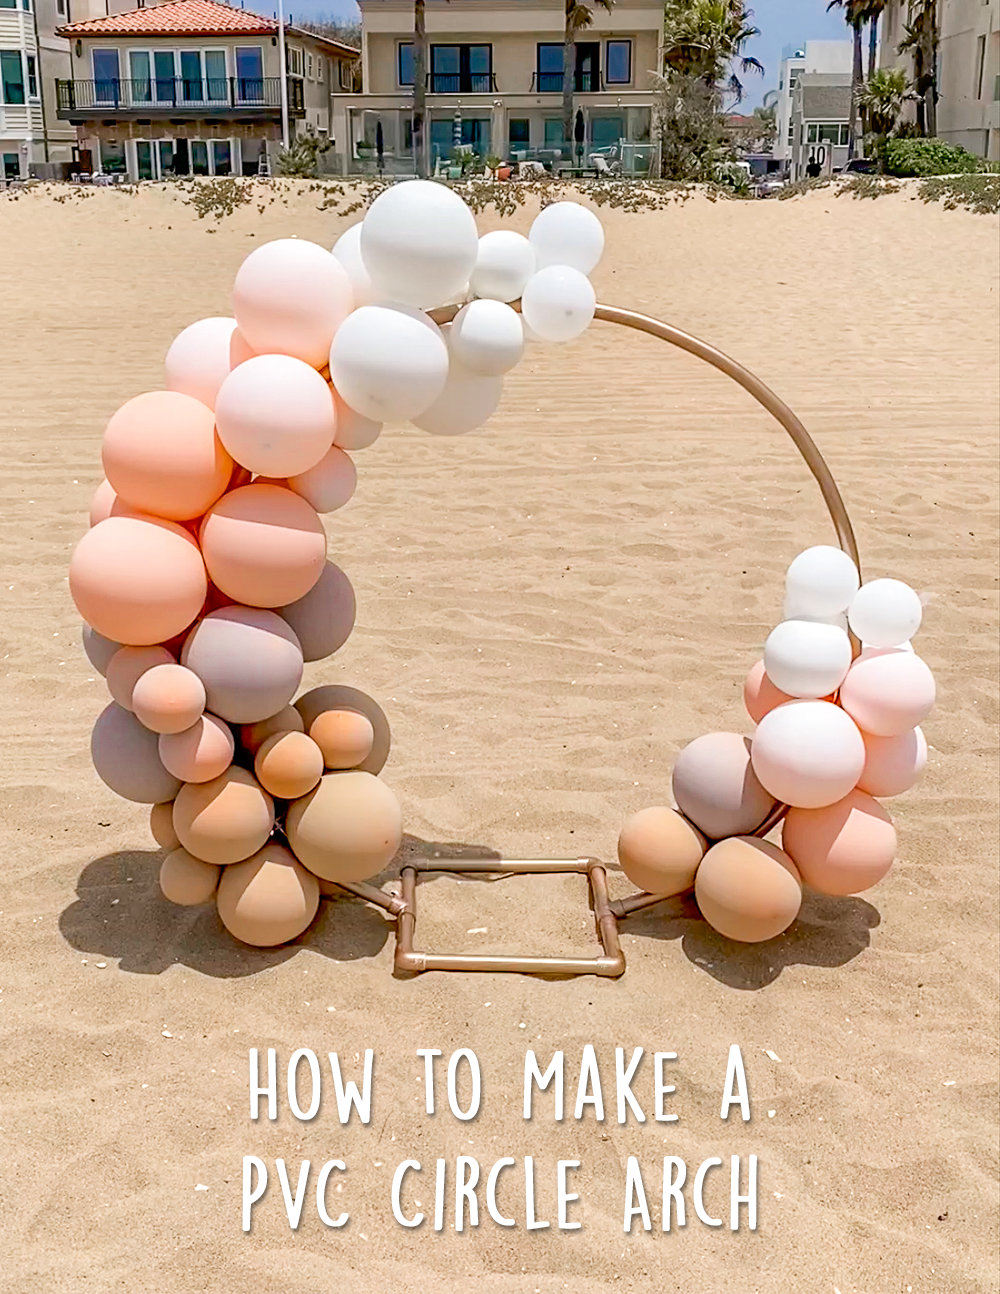
So for my birthday this year I decided to have a luxury boho beach picnic with some of my close friends. I hired Ever Dream Events to set everything up, including the tables, rugs, pillows, umbrellas, flatware and charcuterie boards. It wouldn’t be a Leanne event if I didn’t add a little bit of my own flair, so I decided to make a few decorations. One of those was a balloon circle arch. (That’s a circle arch decorated with balloons and not a balloon arch.)
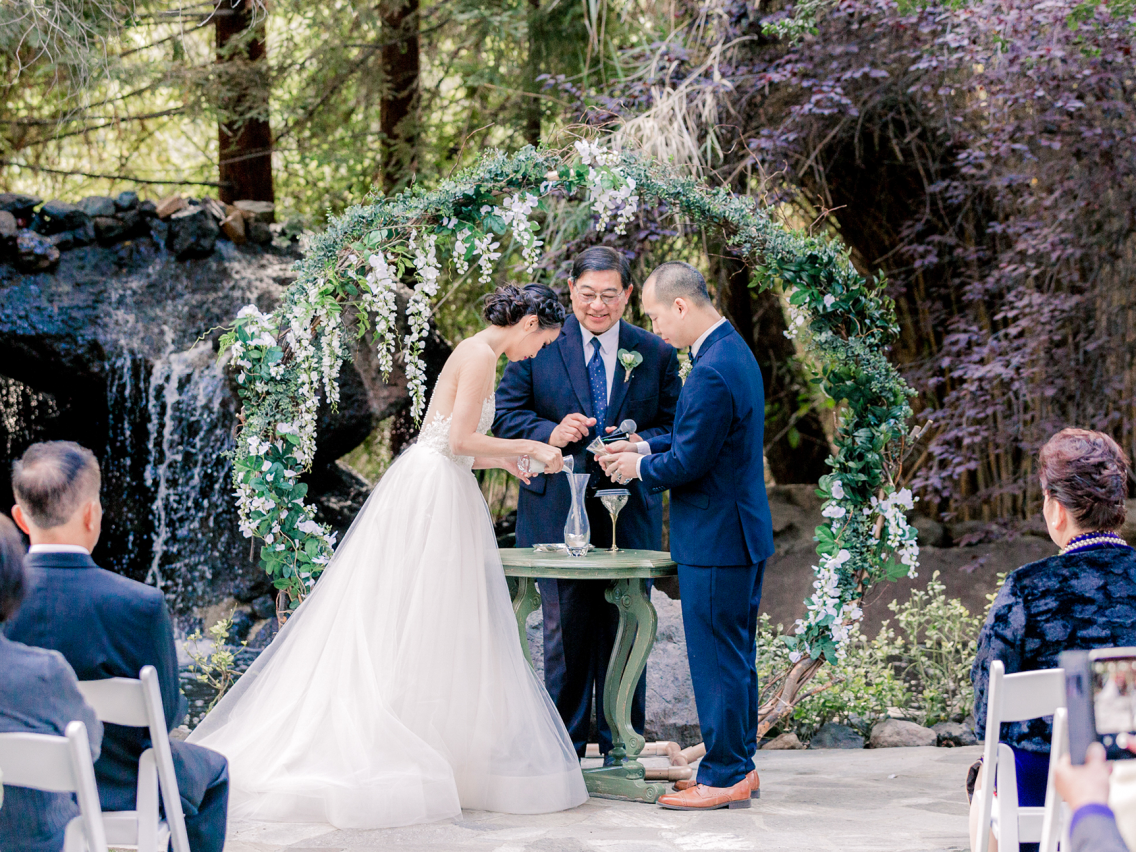
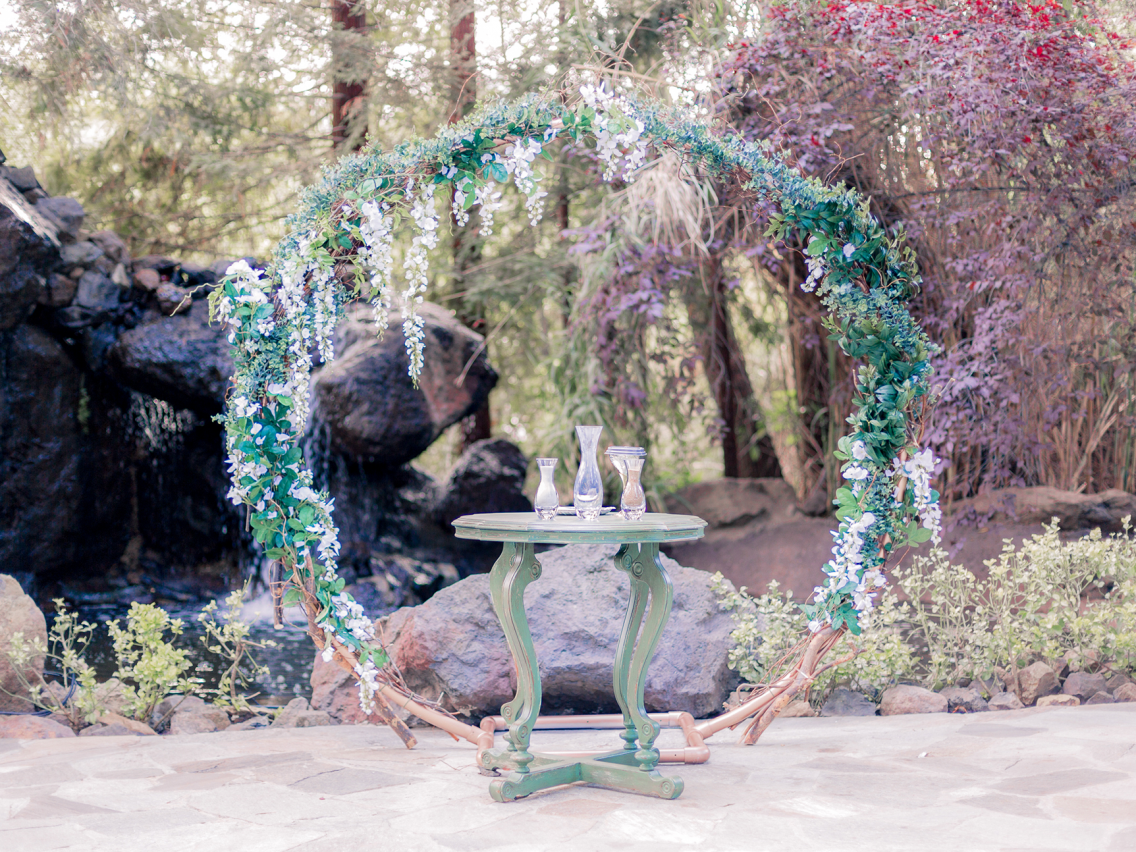
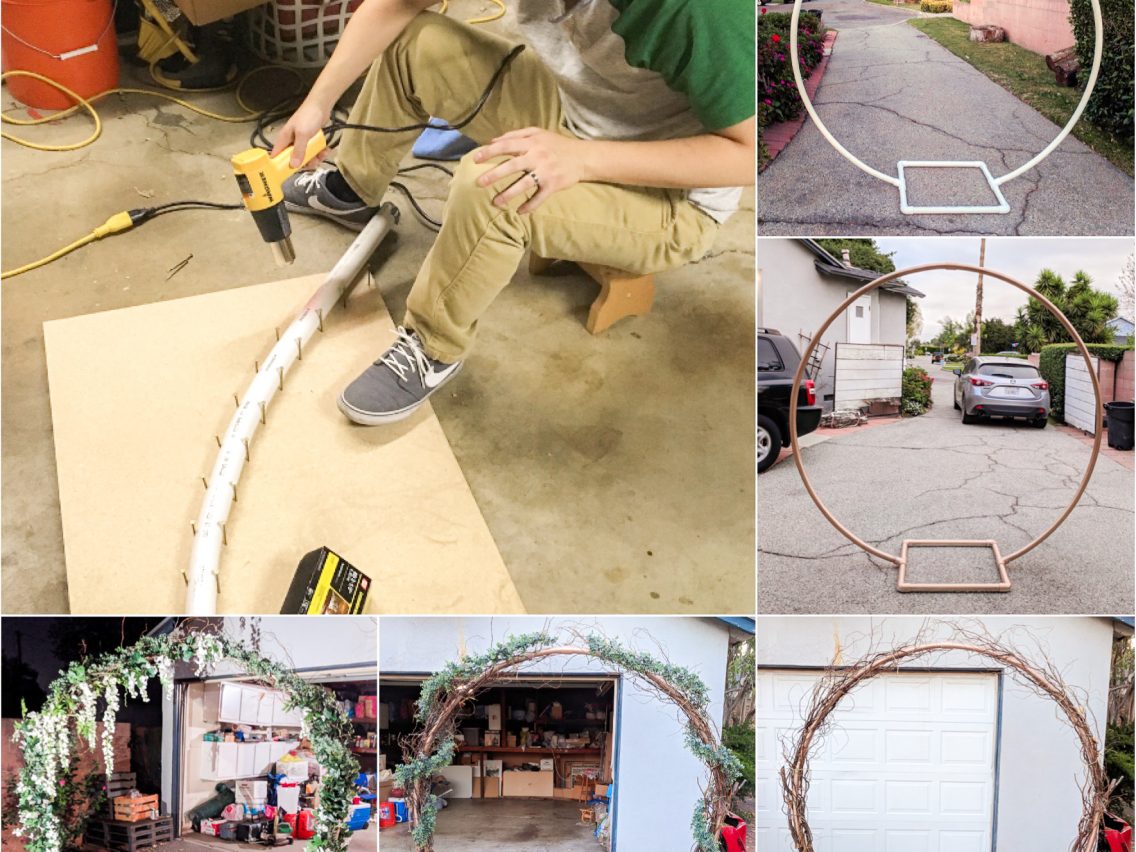
My husband actually DIY’d a floral one for our wedding, so I made mine in the exact same method. Our wedding arch had a 7 foot diameter, making it twice as big as what I made for my birthday. If I had a blog then, I would have done a tutorial for that, but since I didn’t, I’m writing one up for a smaller version. But you can always adapt the measurements for a bigger arch if you want.
This tutorial is for a 3.5 foot tall circle arch. The arch can serve as a backdrop piece, and be decorated in many ways, from balloons, to flowers, to macrame. It’s a good height for picnic parties where guests are seated on the floor, or kids parties, or in conjunction with larger pieces like a peacock chair.
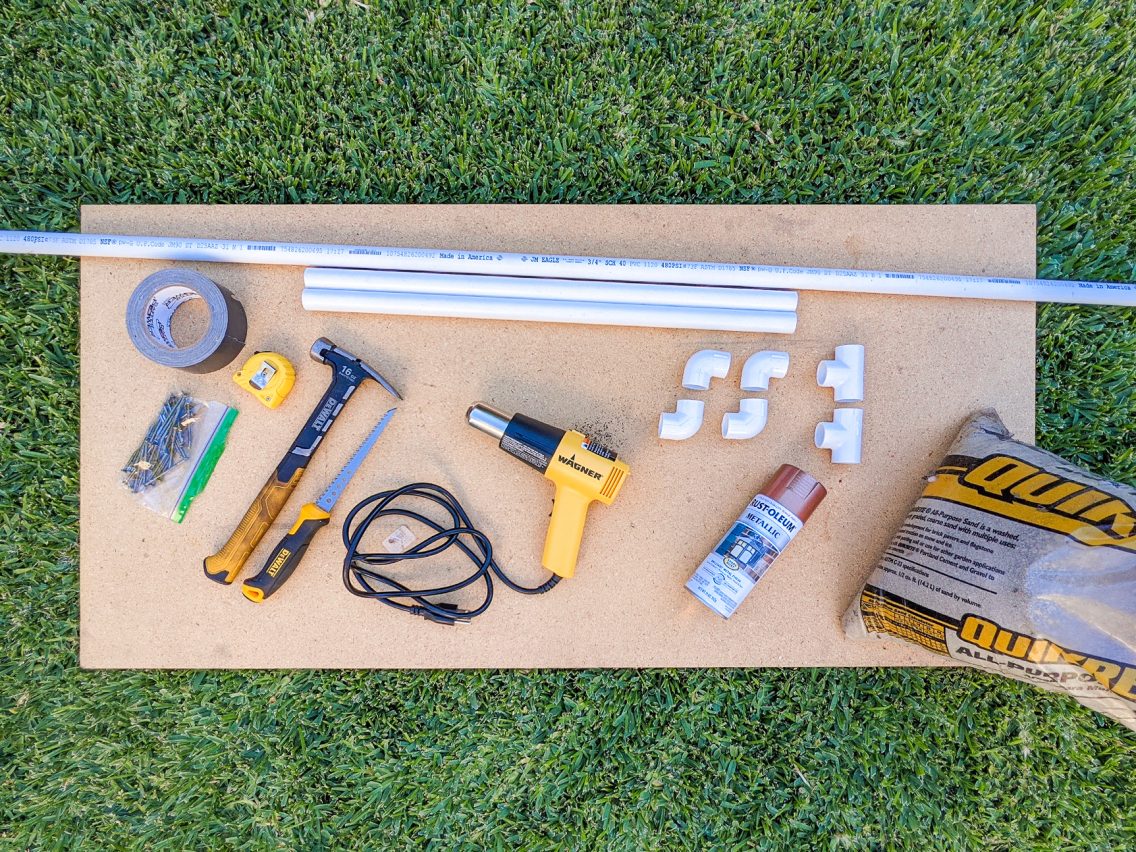
Here’s what you’ll need
Tools:
- Tape Measure
- Hammer
- Heat Gun
- Small Hand Saw
Materials:
- Wood (at least 1in x 2ft x 2ft. I used 1in x 2ft x 4ft)
- (40) Nails
- (1) 3/4in x 10ft PVC pipe
- Duct tape
- All purpose sand
- (2) 3/4in x 2ft PVC pipes
- (4) 3/4in PVC Connector Elbows
- (2) 3/4in PVC Connector Tees
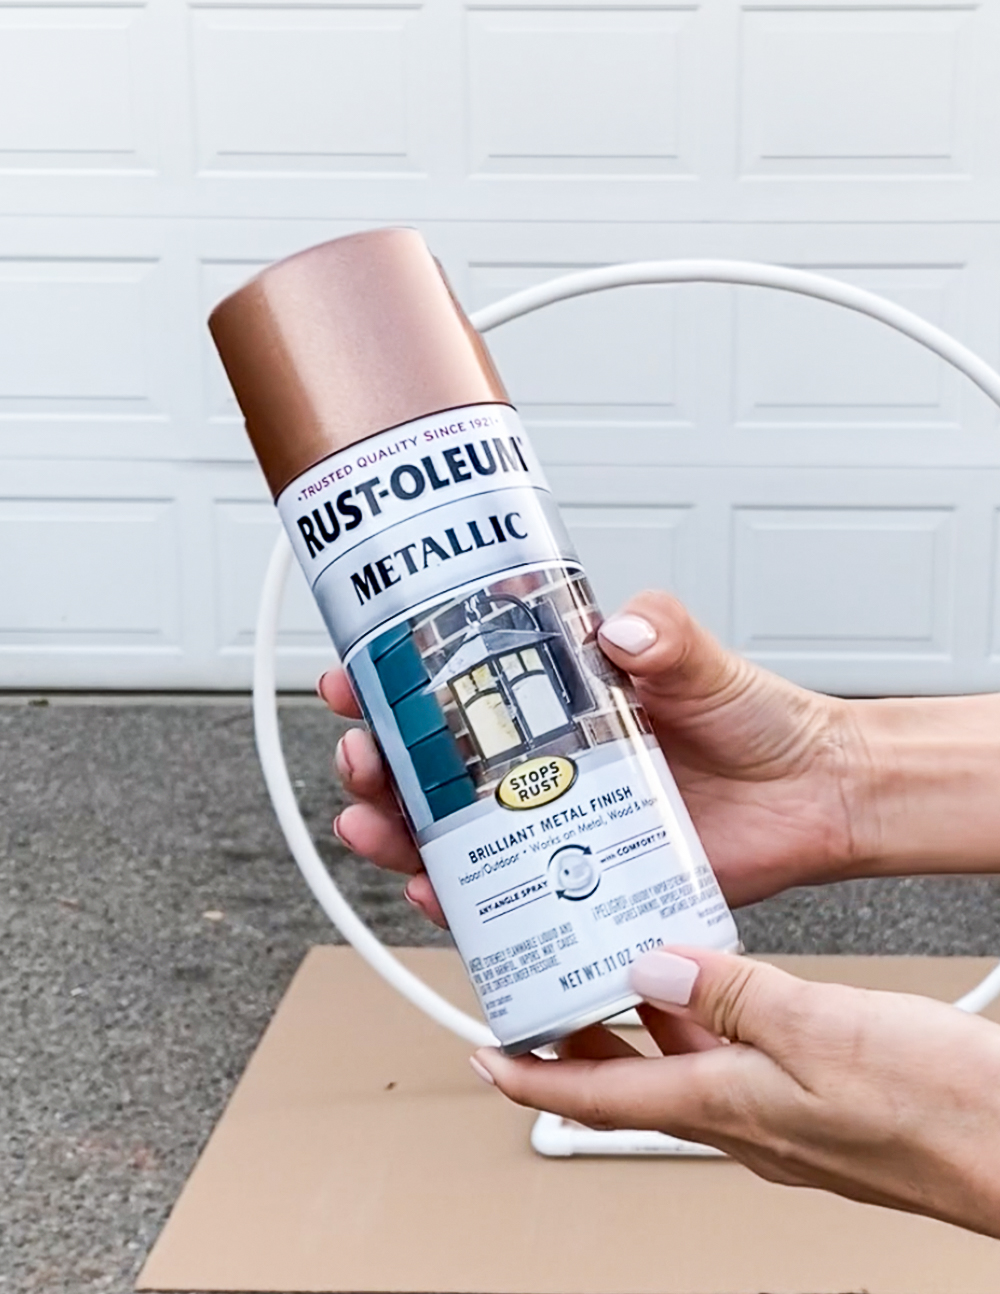
- (1) Rustoleum 11 oz. Rose Gold Spray Paint
Instructions
Step 1: Making the Bending Jig
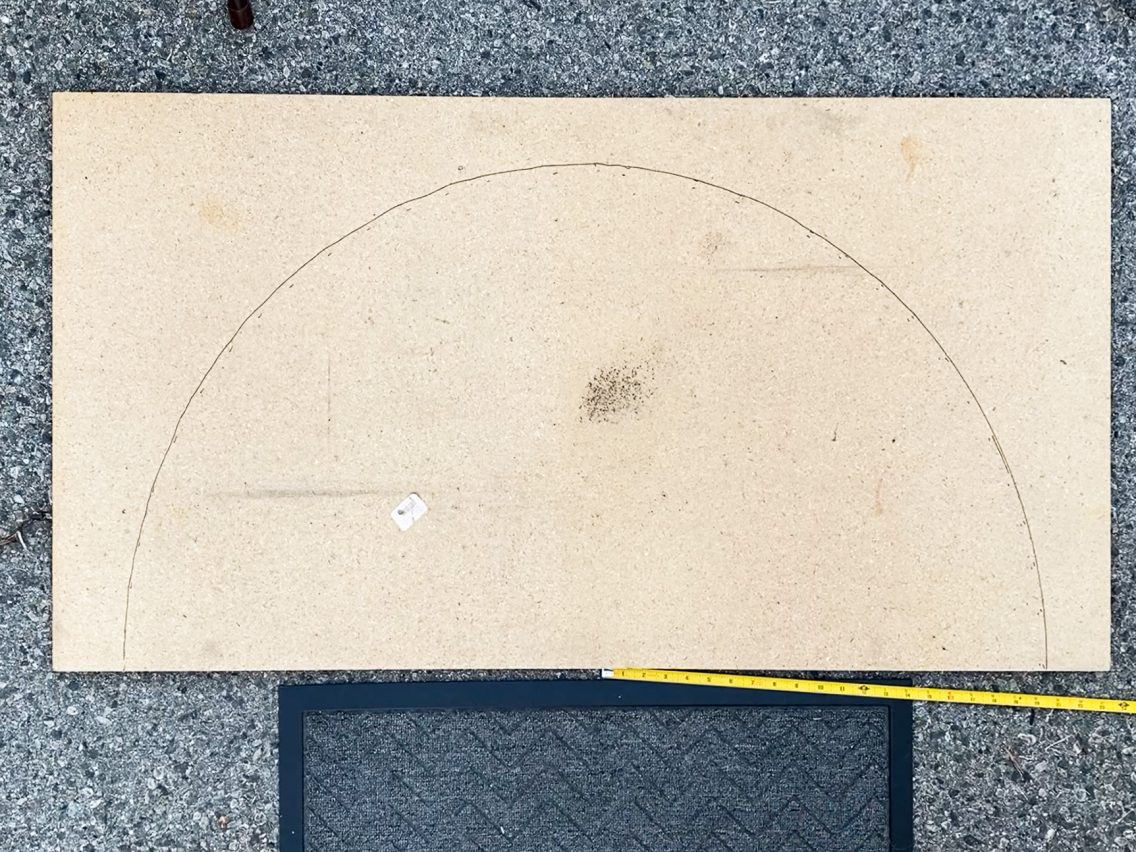
Since we’re using the entire 10ft pole to make the arch, and the base is about 1ft wide, then the circumference of the circle will roughly be 11ft. Therefore, the diameter is 3.5ft, and the radius is half of that, which is 21in.
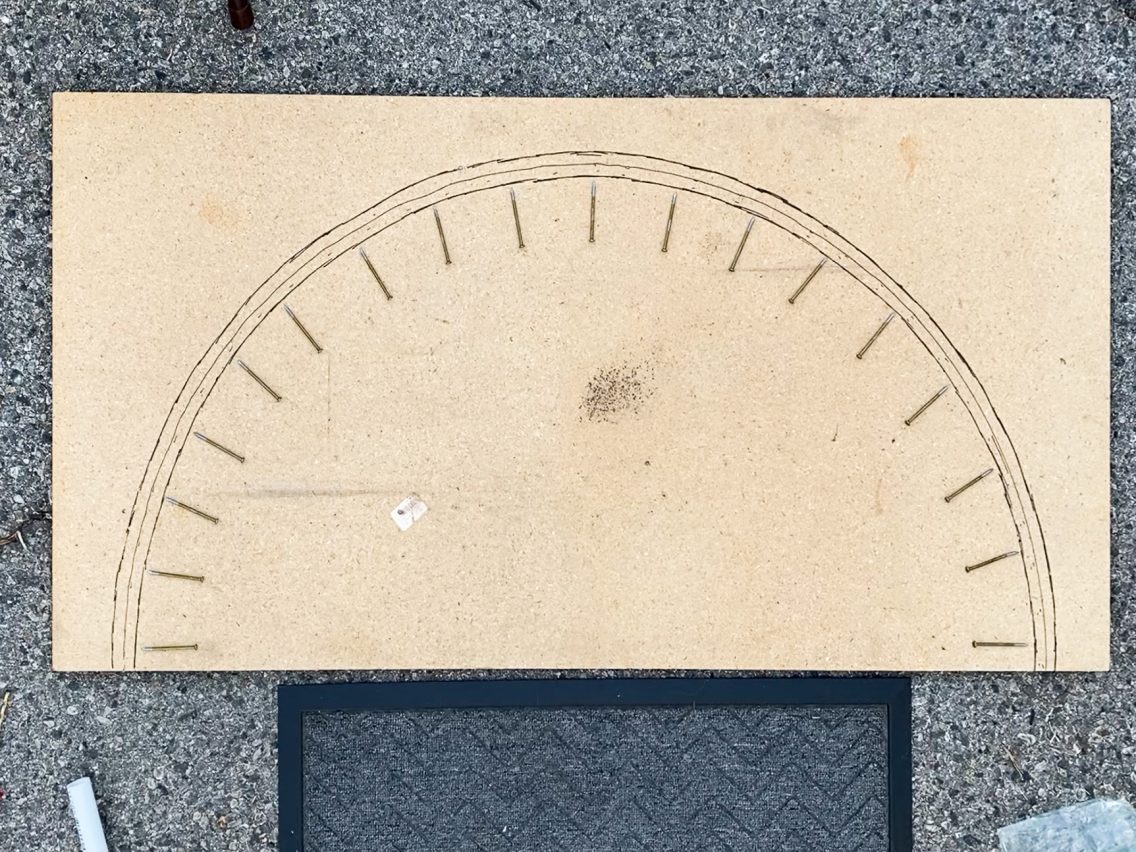
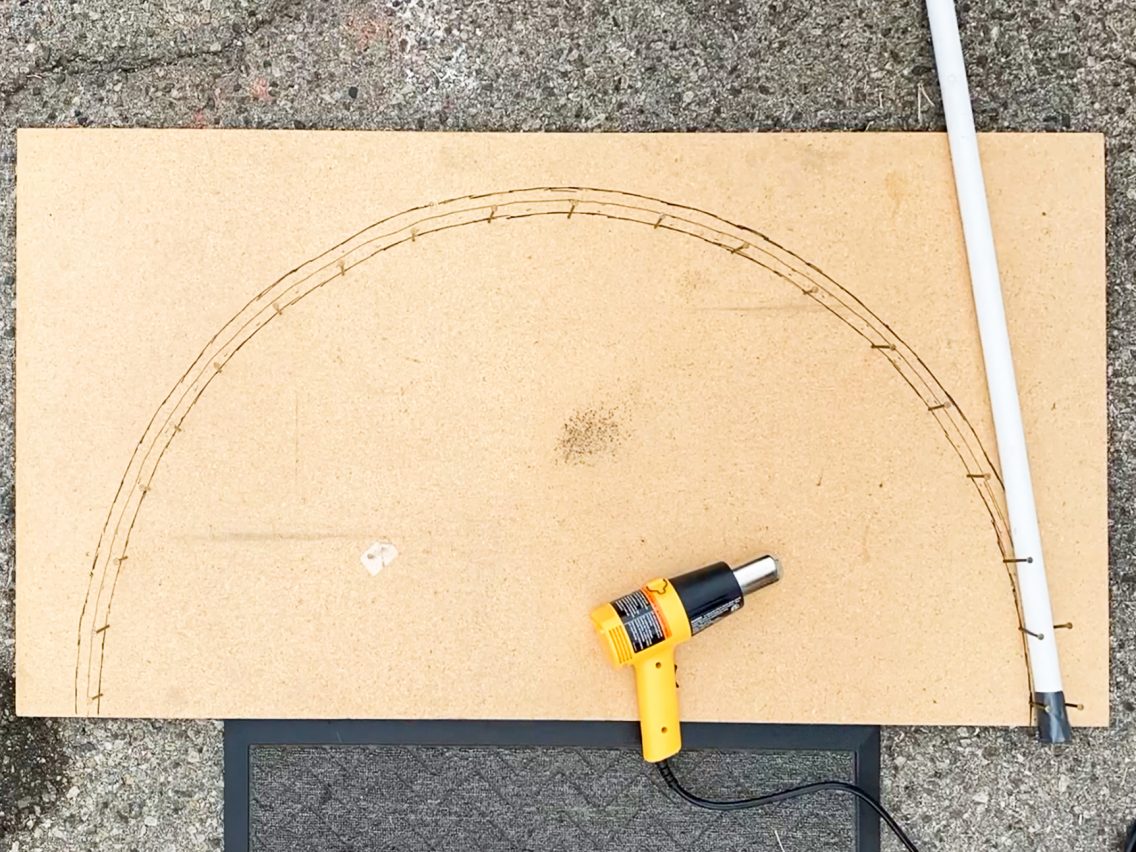
On your piece of wood, mark a center point on one of the edges. Then measure and mark out the radius of the circle across the whole board. This line represents the center of the pole.
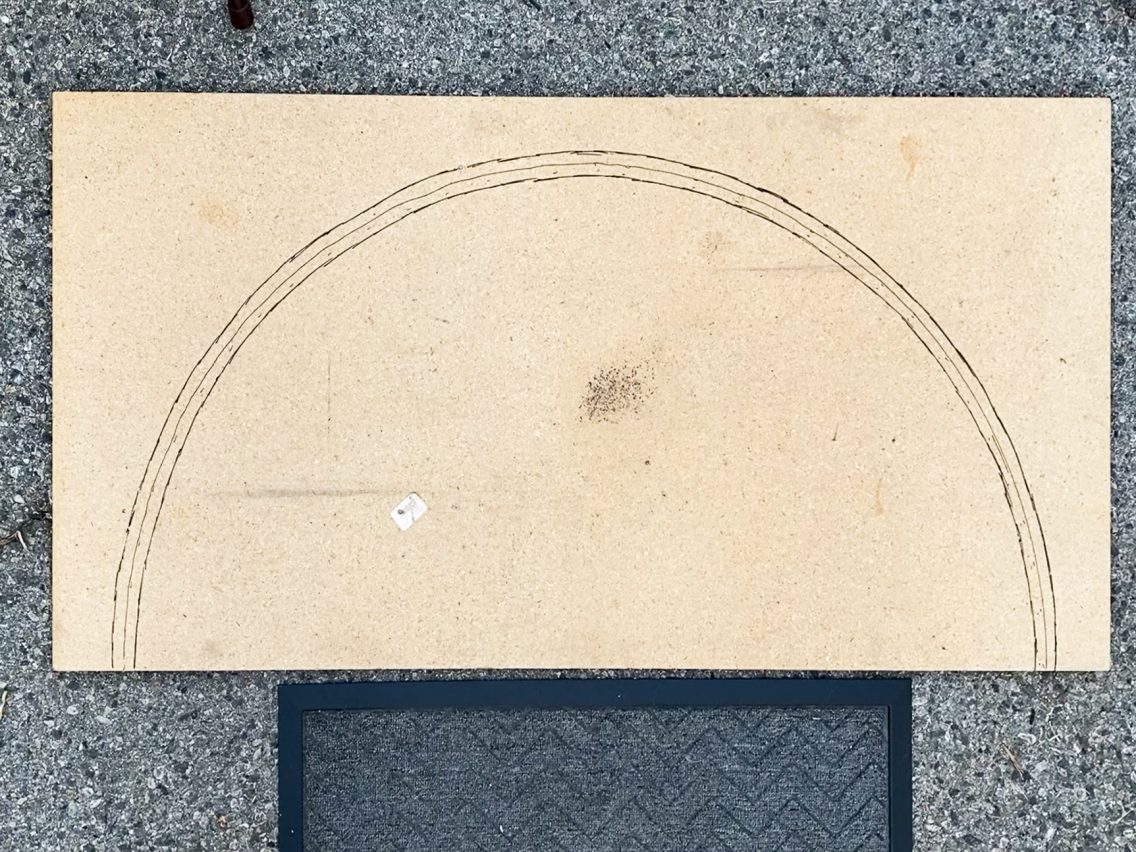
Since the inner diameter of the pole is 3/4in thick (making the outside diameter approximately 1in), you’ll also need to measure and mark out about a ½ inch on either side of the line.
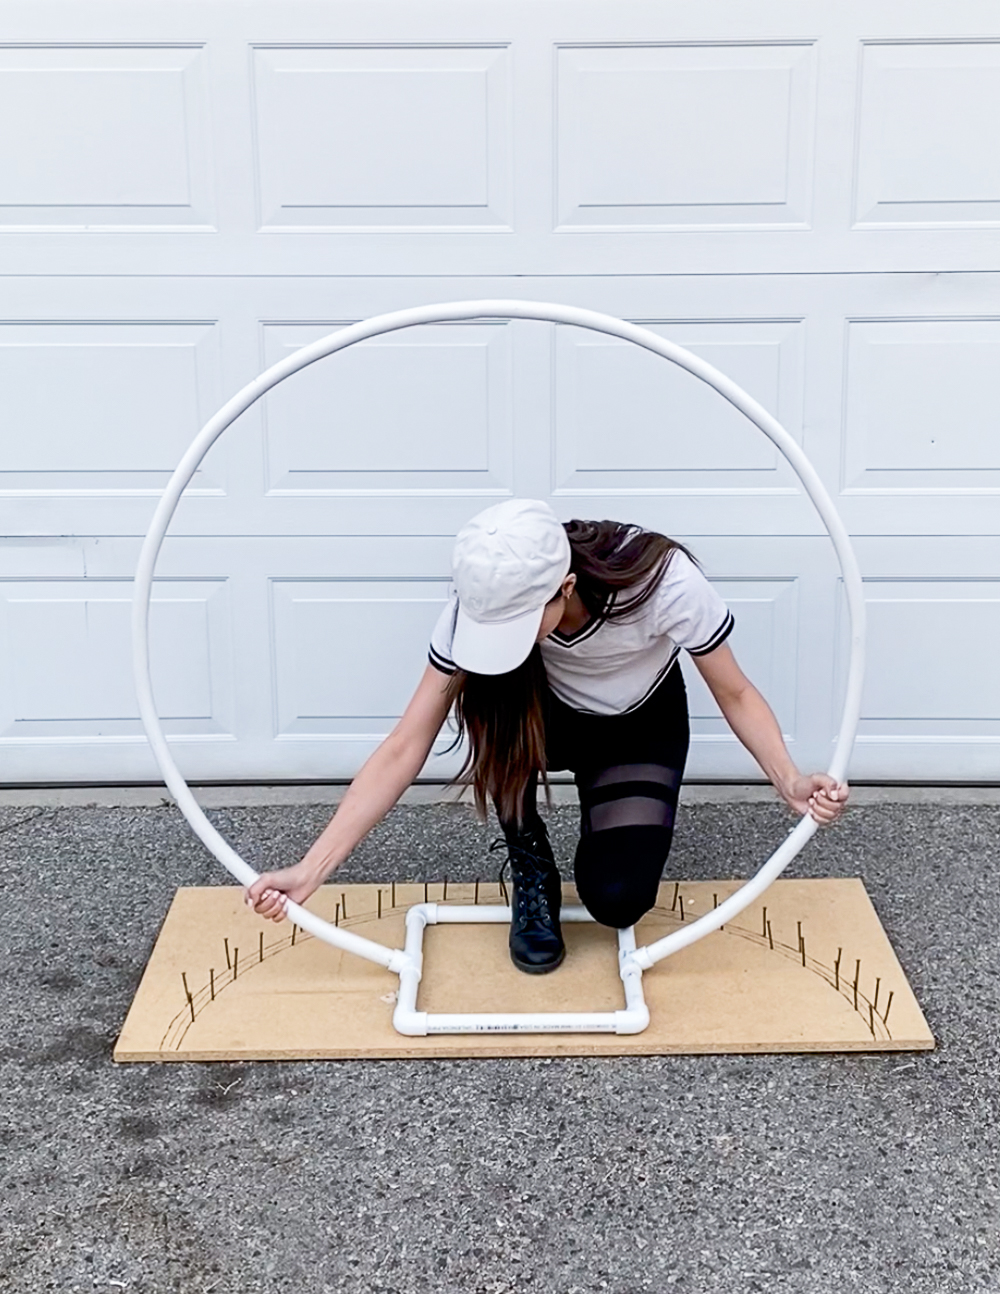
Evenly space your nails, then hammer along the inner line. The more nails, the smoother the curve will be.
Also hammer in 2 nails on the outside line on one end of the board.
Step 2: Bending the PVC Pipe
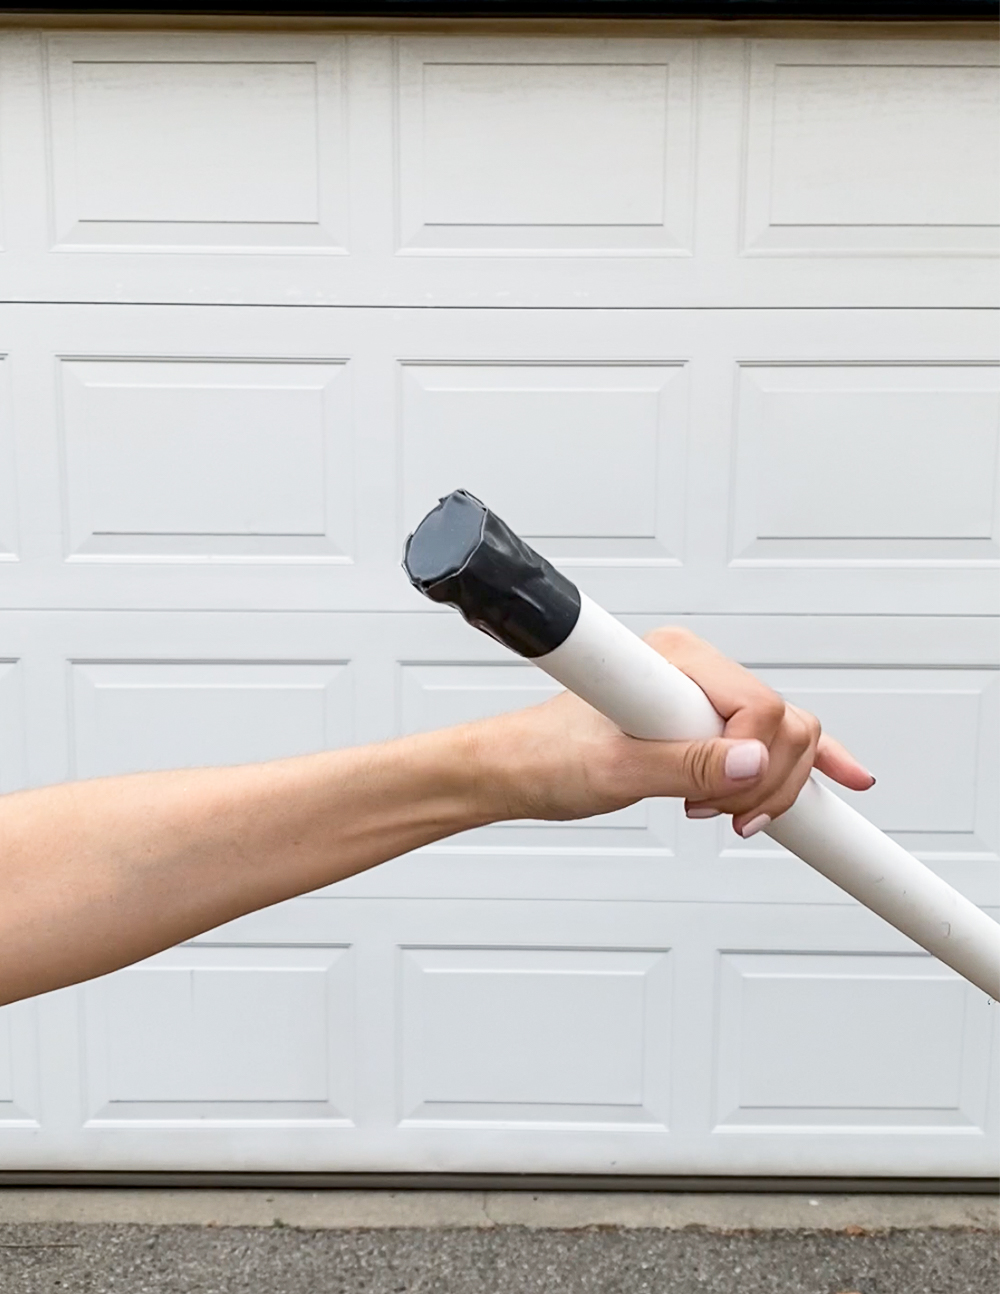
Use duct tape to tape one end of the 10ft pole.
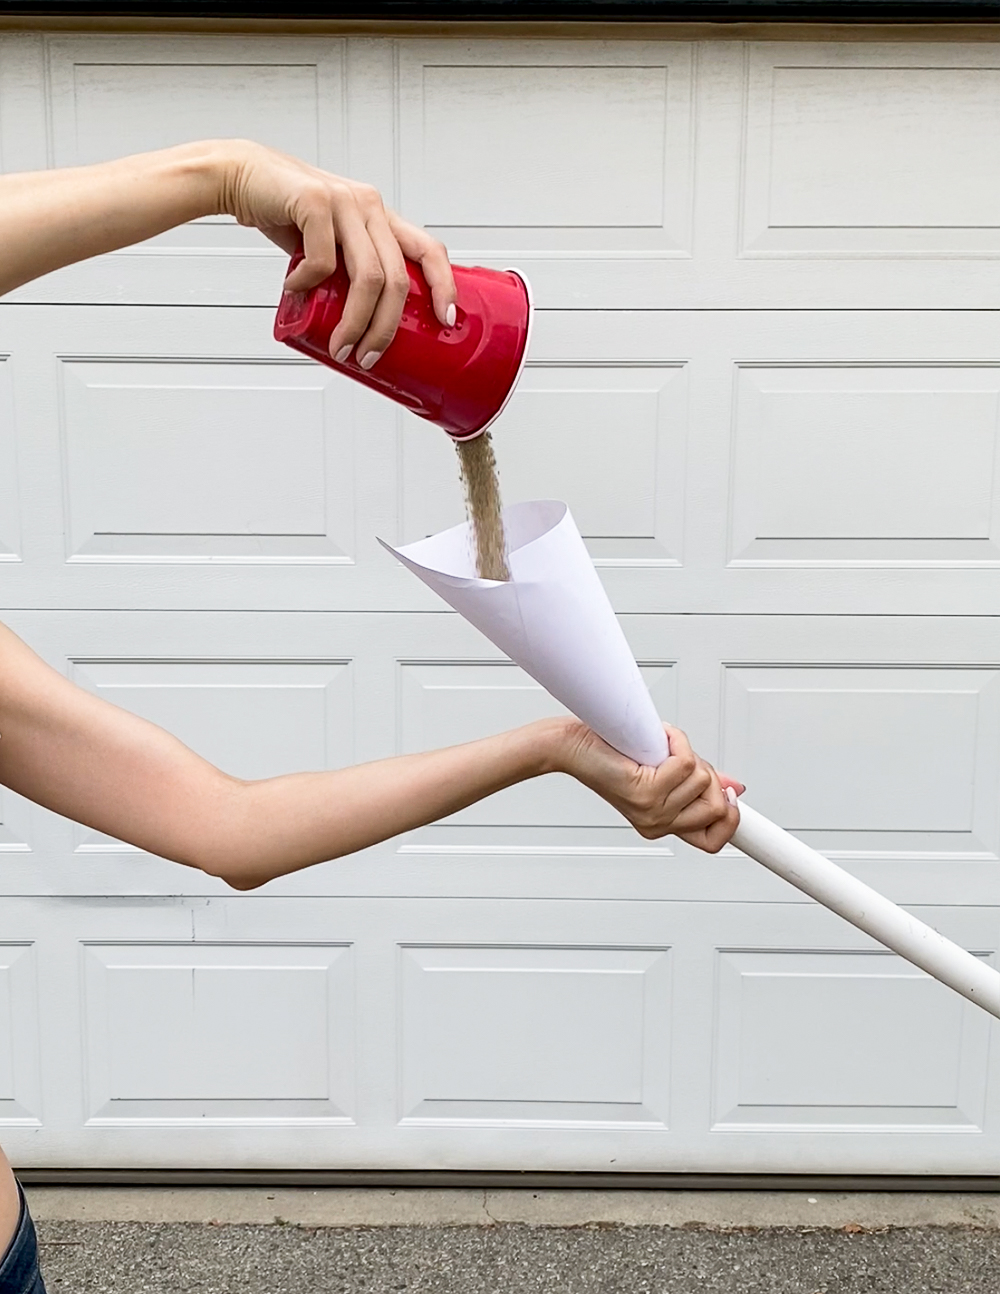
Fill the pole with sand. You’ll probably have to fashion a funnel out of paper to get the sand in there. Make sure to tap the pole on the ground to compact the sand.
Note: The sand prevents the tube from folding or creasing. It helps make a smoother curve because it fills the empty space of the tube.
Once the pole is completely filled with sand, tape it closed.
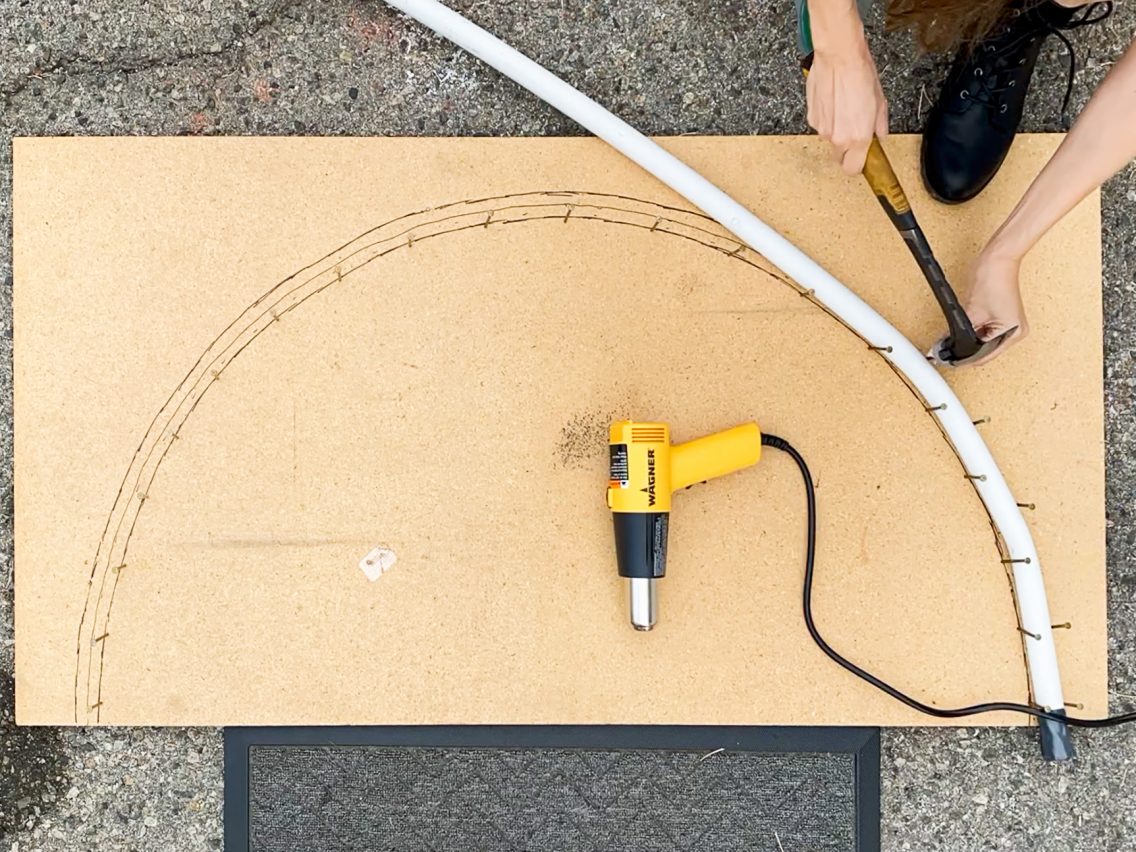
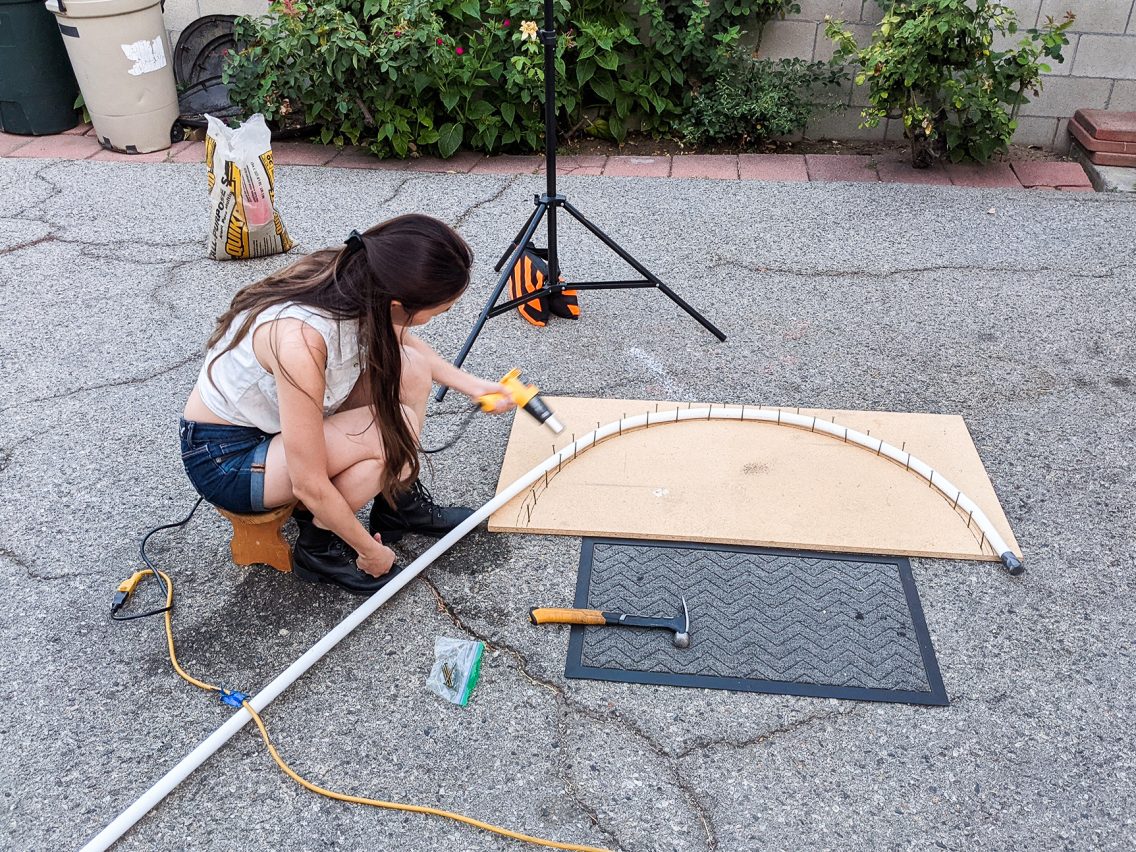
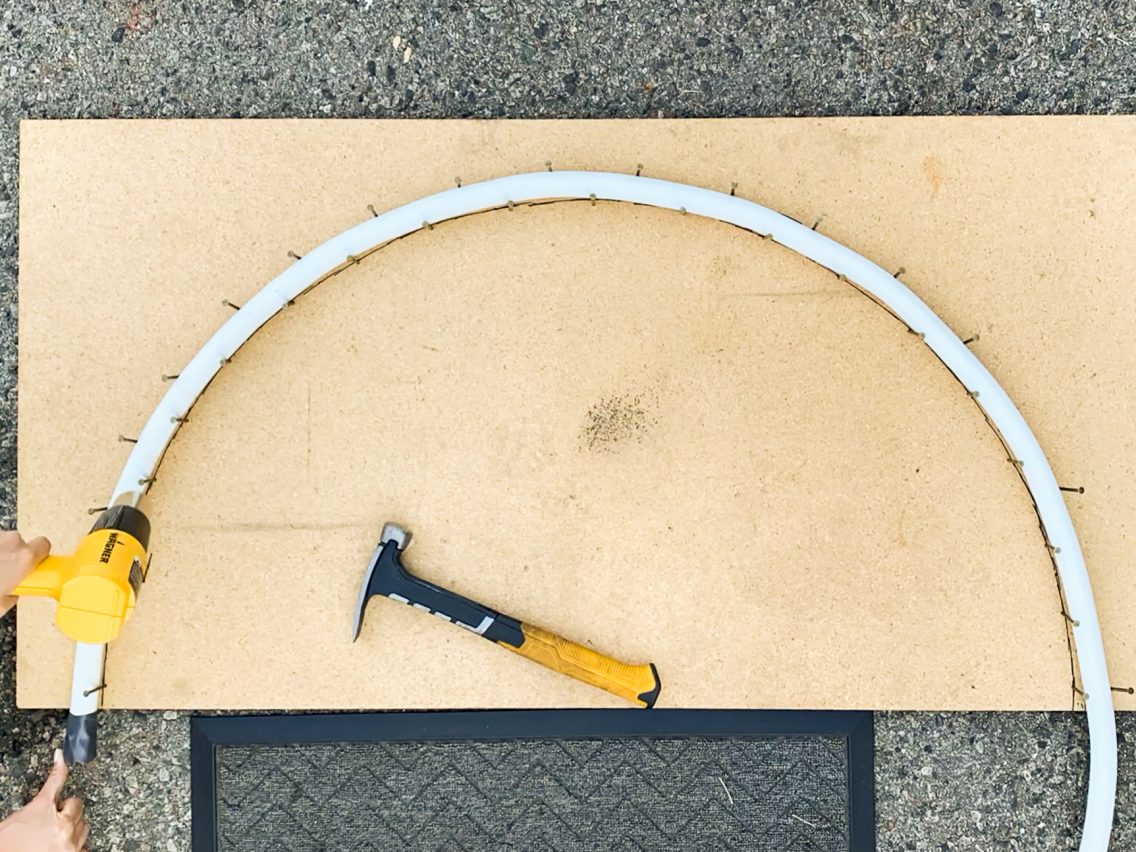
Put one end of the pole into the start of the jig where the two nails are. Using a heat gun, heat up a 1 foot section of the PVC pipe evenly on all sides with a sweeping back and forth motion until you can feel the pipe softening.
Note: it is a slow process and will take some time to heat up. The thicker the pipe, the longer it will take, so be patient and do not rush, otherwise the pipe will crease instead of curve.
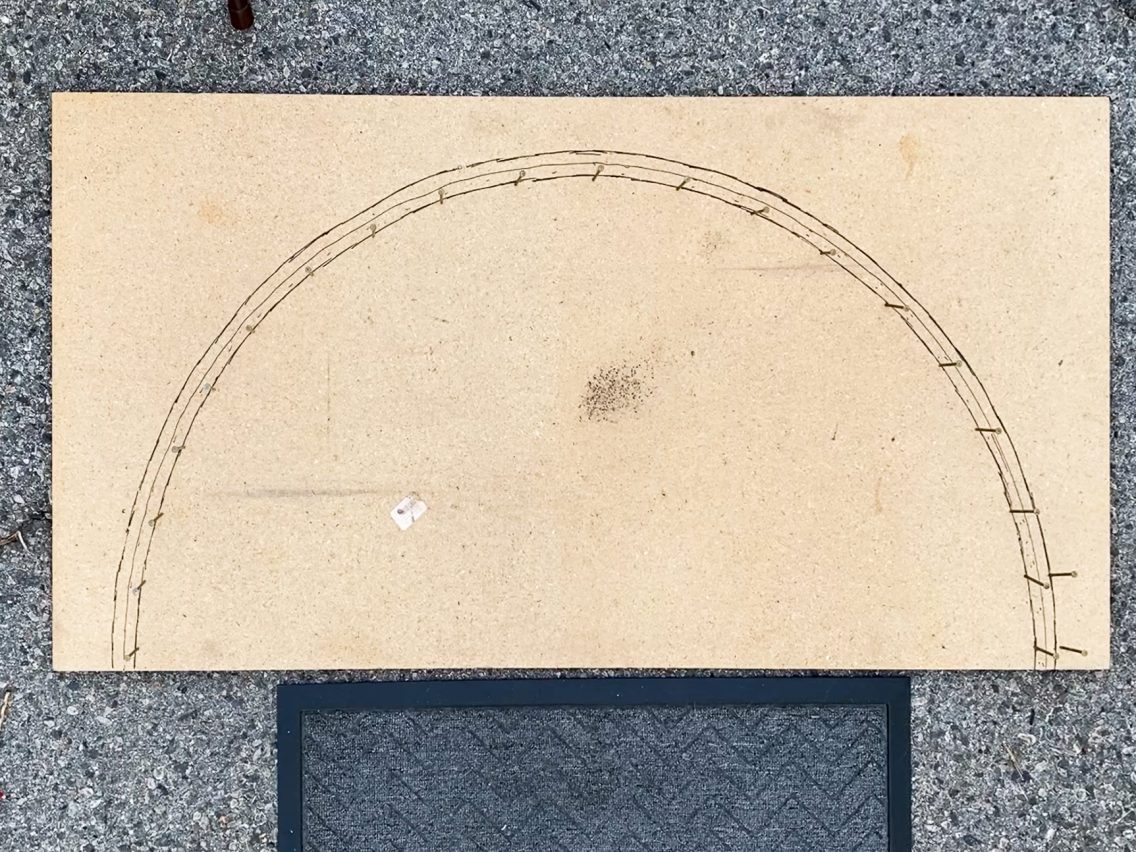
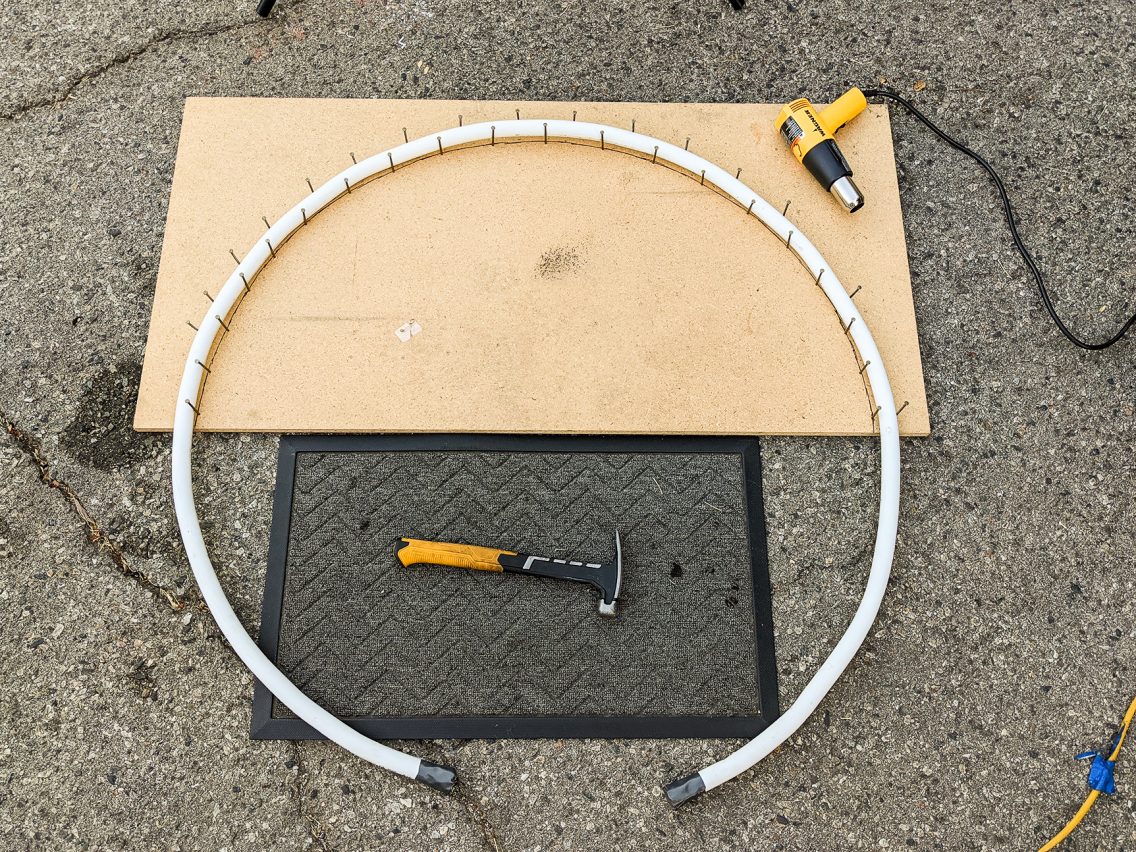
Heat until soft enough to bend. Bend a small section at a time along the inside curve of nails. Make sure the pole can touch the next nail on its own without any pressure. Once it bends enough, hammer in a nail on the outside curve to keep the pipe in place. Also make sure to keep the pipe flush with the board at all times, otherwise it will warp.
Repeat the process of heating, bending, and hammering in nails as you go until you reach the end of the board. At this point you should have nails along both the inside and outside track.
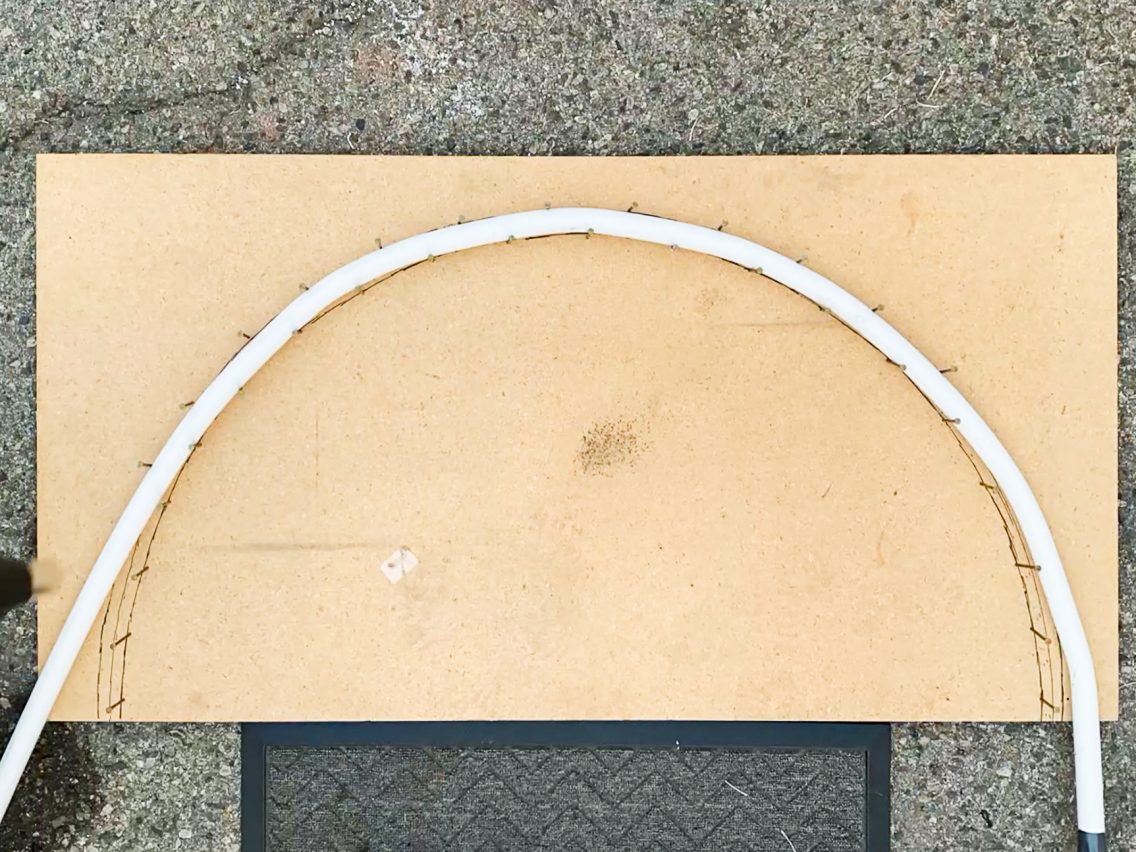
Now here’s the tricky part, once you reach the end of the board, you’ll need to shift and shimmy the entire pole through the jig about 1 foot so you can heat up the next section.
Continue this process until you reach the end of the pole.
NOTE: The best way to retain the shape and integrity of the pole is once you finish bending the whole pole, re-center it on the jig and heat up as much of it one final time, then leave it in the jig for a few hours to cool (best 24 hours).
Once cool, empty out the sand.
Step 3: Making the Base of the Arch
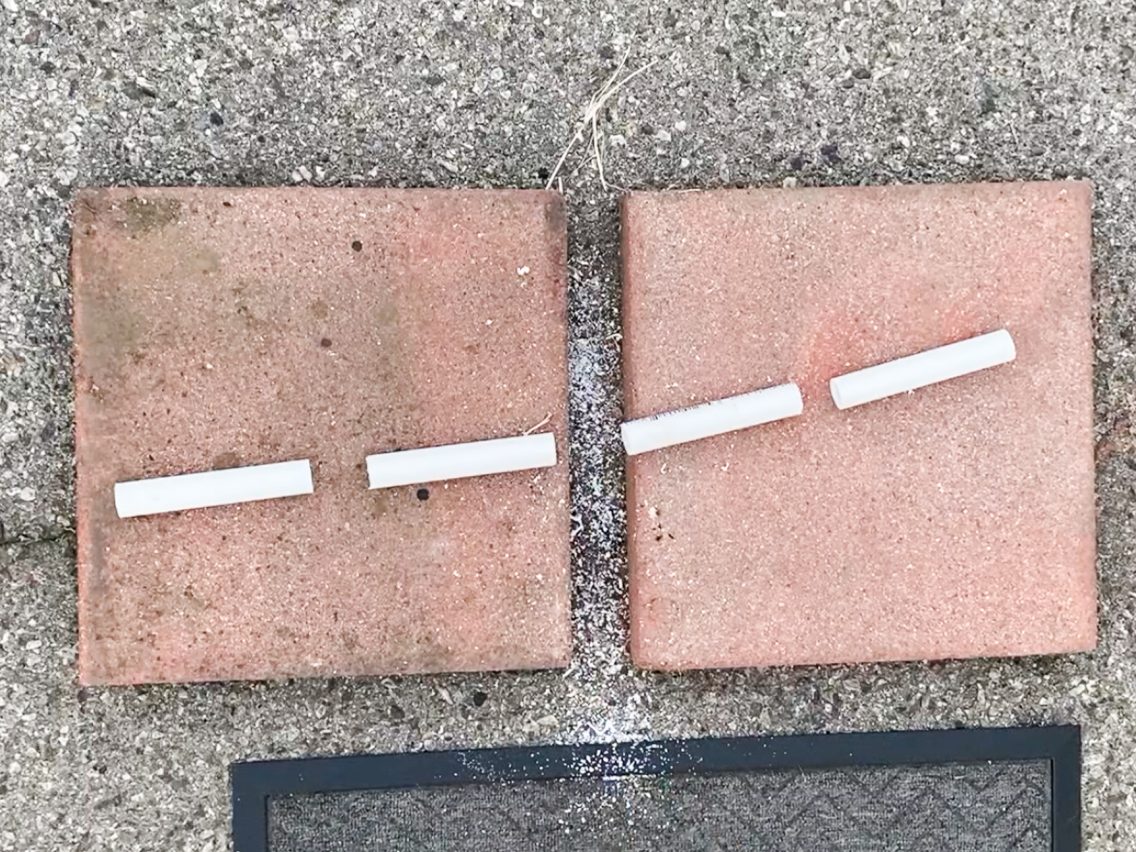
Take one 2ft pole, cut it in half with the saw. Take the other 2ft pole, cut it into fourths.
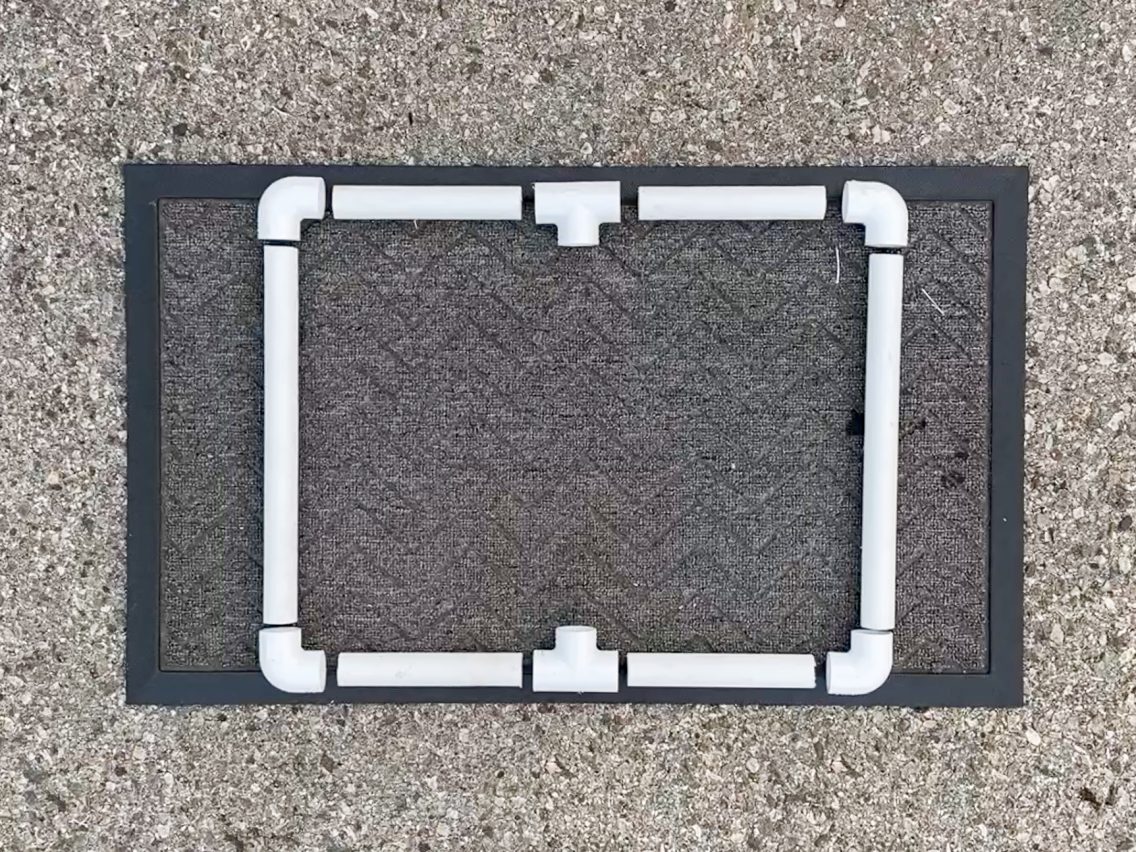
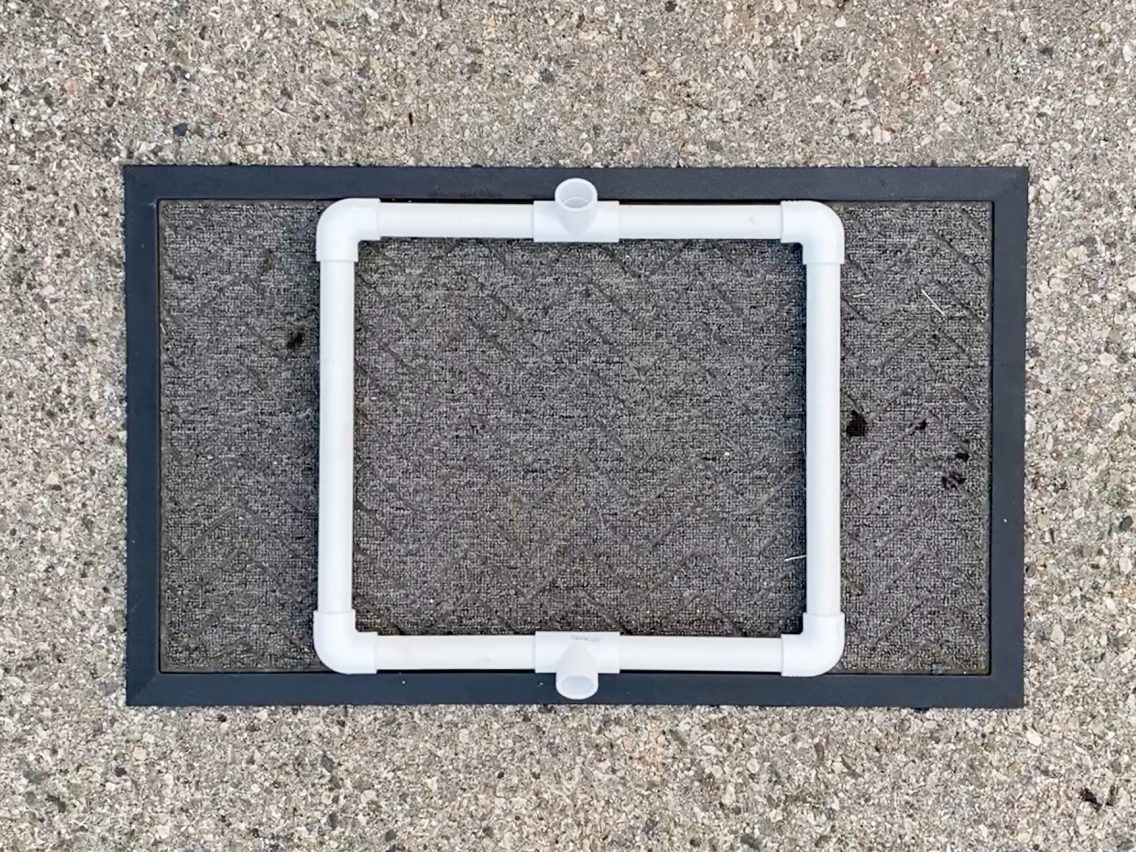
Attach elbow connectors to both ends of the 1ft sections. Use the tee connectors to connect two 6in sections. Connect all the pieces to form a rectangle
Step 4: Completing the Arch
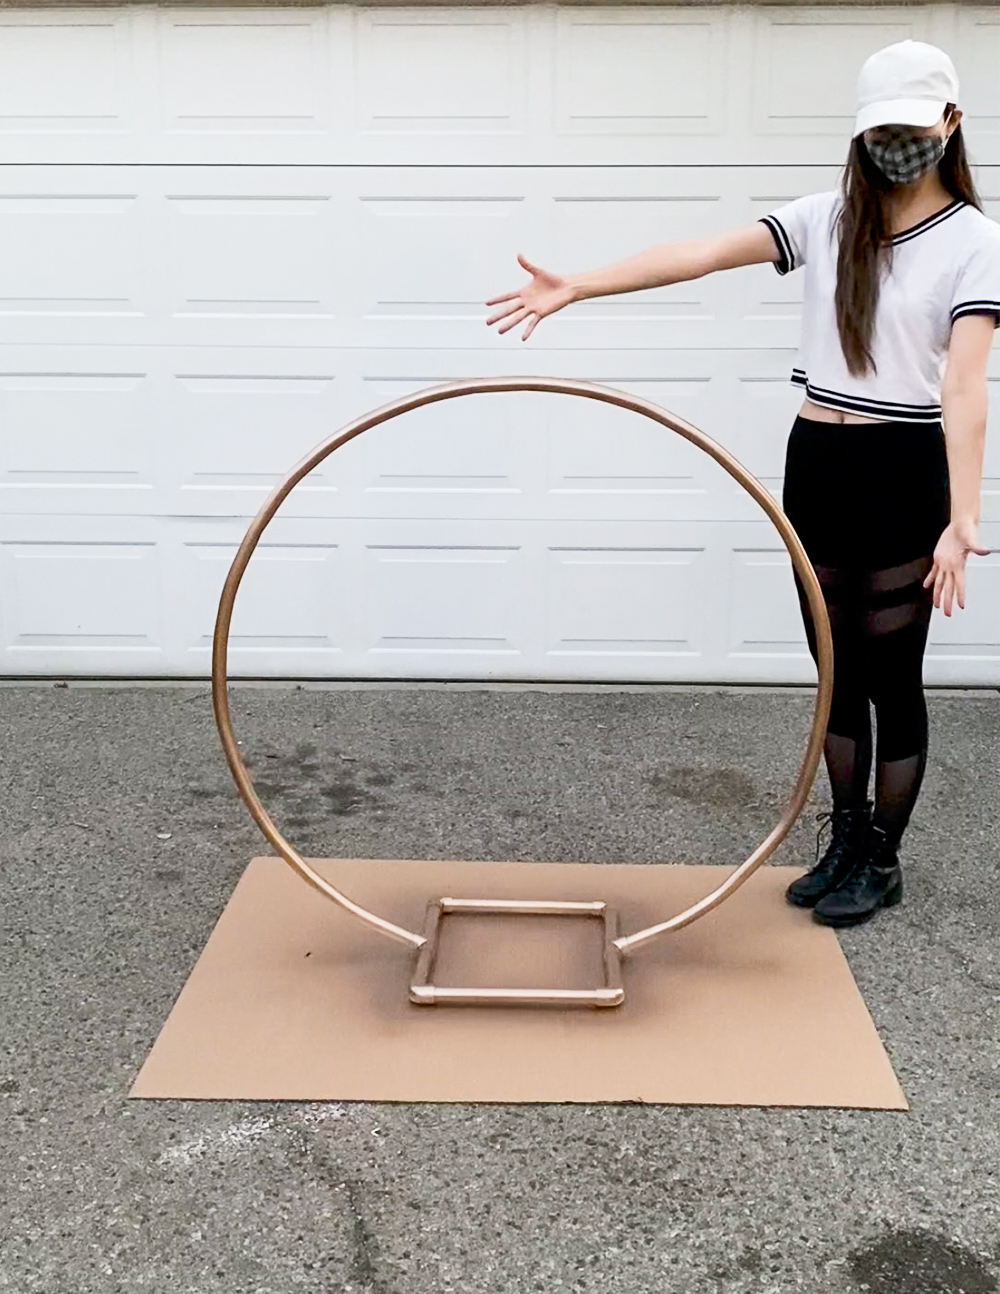
Connect the arch to the base via the tee connectors. You may have to adjust the angle of the tees to get the arch to fit.
Then spray paint the whole thing in a well ventilated area. Wait 10-15 minutes between coats. Let dry overnight.
Decorate how you want! You can use balloons, garlands and flowers, macrame, or whatever you can think of!





khadijat olamide usman
November 14, 2021This was really helpful
Jacqueline
January 19, 2022Thank you so much for this very detailed tutorial!
Nikki
February 8, 2022Beautiful!
Next time: try using CPVC – it’s SUPER flexible and you wouldn’t have had to do anything with a heat gun.
It’s how I create my circle frames for my clients when they don’t want to pay to rent my steel frame!
Dee
July 16, 2022I was going to try that material but the elbows that work on the normal pvc pipe didn’t work with it. I would have needed to buy 12$ brass elbows.
I bought everything that’s recommended on this tutorial and so far so good! Thanks!
Tiffany
August 1, 2022Hi do you have any tutorials? Can we get CPVC at the local hardware store?
Karen Hart
April 24, 2022Love it
Dee Lawson
June 6, 2022Wow I have been looking for simplified versions to make arch, decided to purchase a metal one, will make them smaller, thank you for sharing.
Keisha
July 7, 2022Leanne,
You did a wonderfully thorough job in explaining this and with the pictures. It is beautiful!
Sharon
December 10, 2024I have been looking for a way to make a circle arch, but I had no idea. This is would idea
Thank you
Rhonda Watson
August 4, 2022Absolutely fabulous creative idea
I need to make these in a smaller version for my wedding centerpieces and one larger for the alter background the concept of the wedding is circle of love because we dated back in the early 80’s then he located me 30+ years later
This is so amazing live you thanks so kindly for saving me so much money
Karen
October 29, 2022Great tutorial
Ajay Sharma
February 9, 2023Very nice idea i will make one for my son birthday i. e on 16th February. Thanks alot
Debbie
December 8, 2024Well made. Concise instructions with pics to illustrate! Great job, wish everyone made it this easy to understand!